How to Temporarily Cover a Broken Car Window
Protect your car with a temporary window cover made with tape and a high-density garbage bag that will stand up to the elements.
Our editors and experts handpick every product we feature. We may earn a commission from your purchases.
Introduction
Protect your car with a temporary window cover made with tape and a high-density garbage bag that will stand up to the elements.Tools Required
- Hammer
- Microfiber Cloth
- Scissors
- Tape measure
- Vacuum
- Work gloves
Materials Required
- Duct tape (as needed)
- High-density garbage bag
- Masking tape
- Paper bag
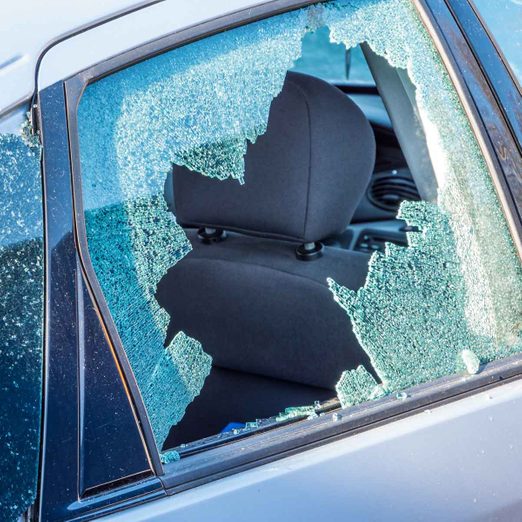
A broken car window should be repaired as soon as possible, because a temporary window cover will hamper your visibility and leave your car an easy target for thieves.
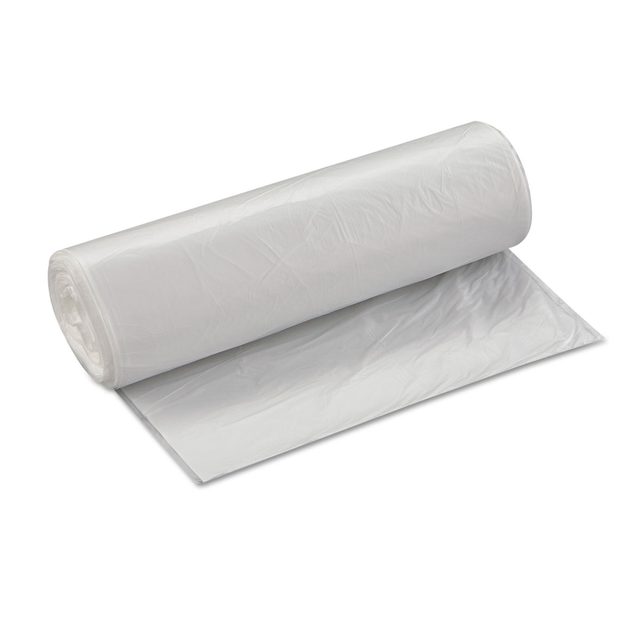
To protect your car from the elements in the meantime, a high-density garbage bag is ideal. These bags are made of resin, which doesn’t easily tear, and they’re clear, so you can still see through them (somewhat) if you need to drive. A low-density garbage bag, like those in your kitchen, can also work, but you shouldn’t plan on driving far or fast until the window is repaired.
Project step-by-step (5)
Remove the Glass
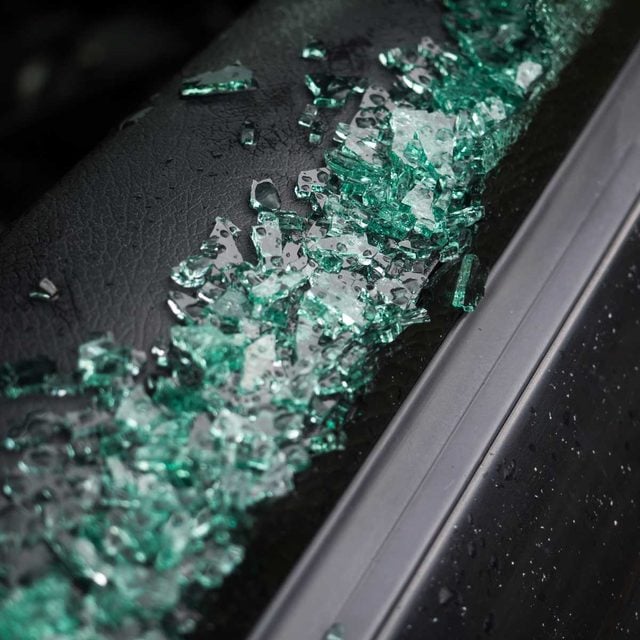
- Remove all the glass from the broken car window while wearing thick work gloves.
- Use a hammer to remove stubborn shards of glass, tapping firmly but not excessively hard so you don’t shatter the glass into additional pieces.
- Dispose of the glass in a paper bag. Seal the bag with tape and toss it into the trash.
- Vacuum the inside of the car thoroughly to catch the finer shards of glass.
Clean the Window Frame
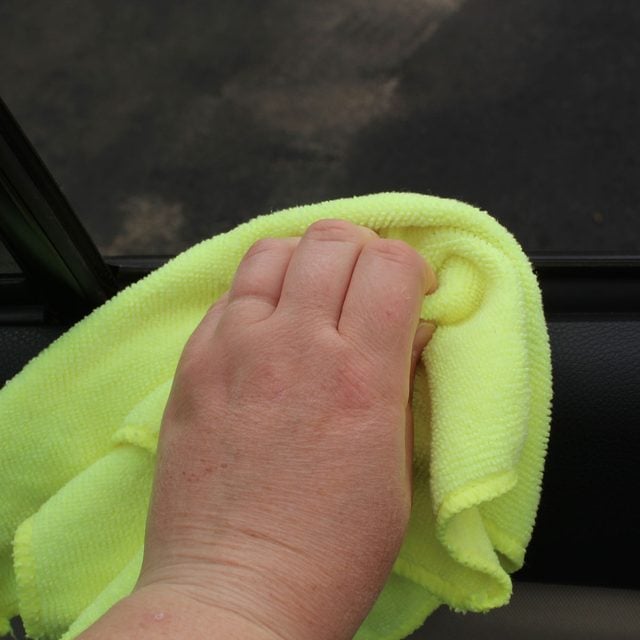
- Wipe the window frame and seal with a damp microfiber cloth to clean off dirt and dust.
- Let the window frame and seal dry completely.
Prepare the Plastic and Tape
- Measure the length and width of your car window with a measuring tape.
- Unfold the plastic garbage bag and cut a rectangle to fit your car window, plus about 1/2-in. all around. You should be able to pull the plastic taut and tape it to the car without having an excessive amount of extra plastic around the edges, which can be tricky to trim after the plastic is taped.
- Pro tip: Cutting the plastic bag is easier indoors. If you have to do it outside and it’s breezy, gather rocks or other weights ready to keep the bag from blowing away.
- Cut up eight to 10 pieces of masking tape, each about one to two inches long.
- Pro tip: Place tape on the car door so it’s ready when you need it.
Tape the Plastic Garbage Bag
- Open the car door to attach the plastic garbage bag from the inside of the car.
- Align the plastic to the top inner corner of the window frame.
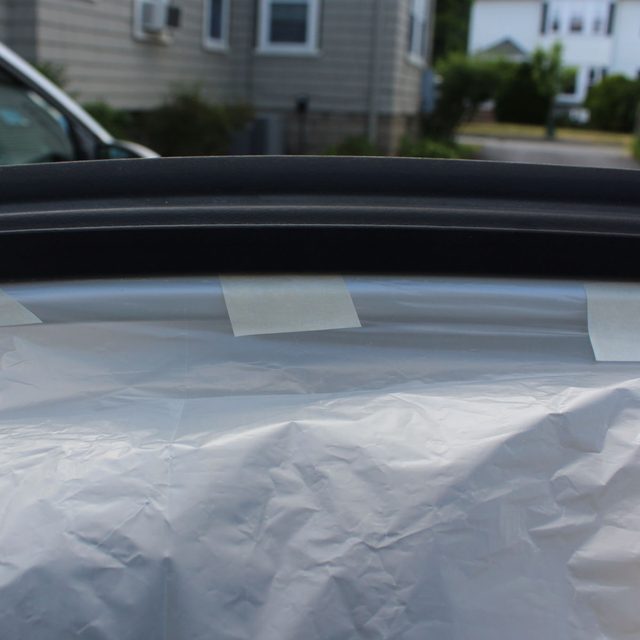
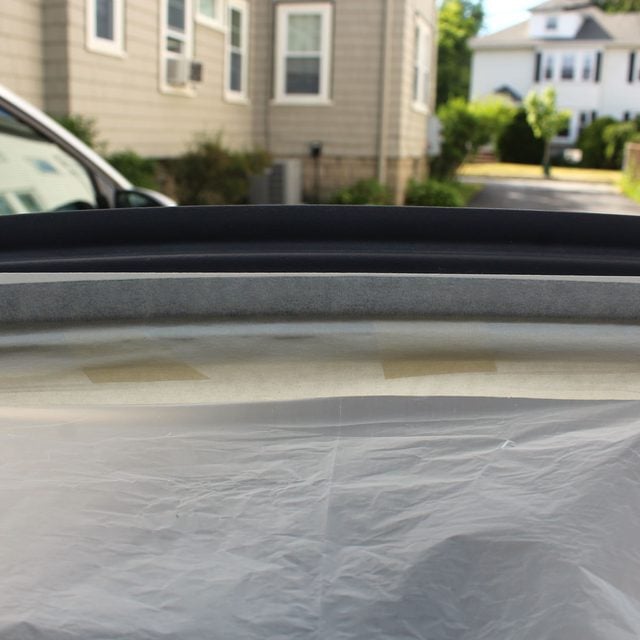
- Apply a piece of masking tape to the plastic bag and the car window frame, placing the tape underneath the rubber window seal.
- Pull the plastic taut and adhere it to the top outer corner with a piece of masking tape, placing the tape underneath the rubber window seal.
- Adhere one to two more pieces of masking tape along the top of the window to secure the plastic.
- Pull the plastic taut and adhere it to the bottom inner corner of the window frame with a piece of masking tape.
- Pull the plastic taut and adhere it to the bottom outer corner of the window frame with a piece of masking tape.
- Adhere one to two more pieces of masking tape along the sides of the window to secure the plastic.
- Adhere one to two more pieces of masking tape along the bottom of the window to secure the plastic.
- Pro tip: Duct tape may be necessary to secure the plastic along the bottom if the masking tape doesn’t adhere as well to the soft rubber of the door. Don’t use duct tape exclusively because it will damage the car paint when you peel it off the frame.
Create the Seal
- Cut six to eight long pieces of masking tape, enough to go around the entire window perimeter.
- Adhere the tape around the plastic to secure the first layer of tape and create a seal to keep out air and water.
- Pro tip: Again, duct tape may be necessary for the bottom seal if the masking tape doesn’t adhere as well to the soft rubber of the door.

