Try This Hack for Building an Inexpensive Glass Panel Door
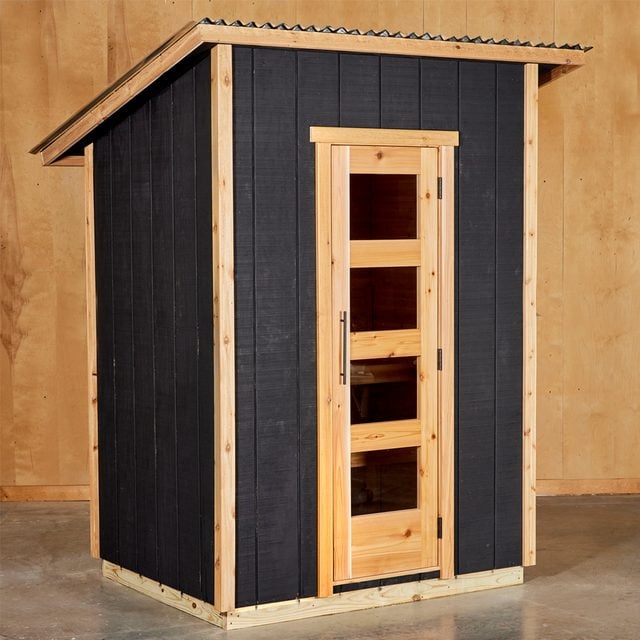
Make a glass panel door yourself without breaking the bank.
Our editors and experts handpick every product we feature. We may earn a commission from your purchases.
A half day
Intermediate
$50 -120
Introduction
Finding the perfect size door for your DIY project may be more challenging than you think. Read on to learn how to build a glass panel door for less than $100, using 2x4s and tempered glass cutting boards.Tools Required
- Bar clamps
- Miter saw
- Table Saw with Dado Blade or Router with Slot Cutting Bit
Materials Required
- 1 - 2x12 x 3 ft.
- 1 - 2x6 x 8 ft.
- 2 - 2x4 x 8 ft.
- Glass Cutting Boards
Project step-by-step (6)
Step 1
Designing a Glass Panel Door
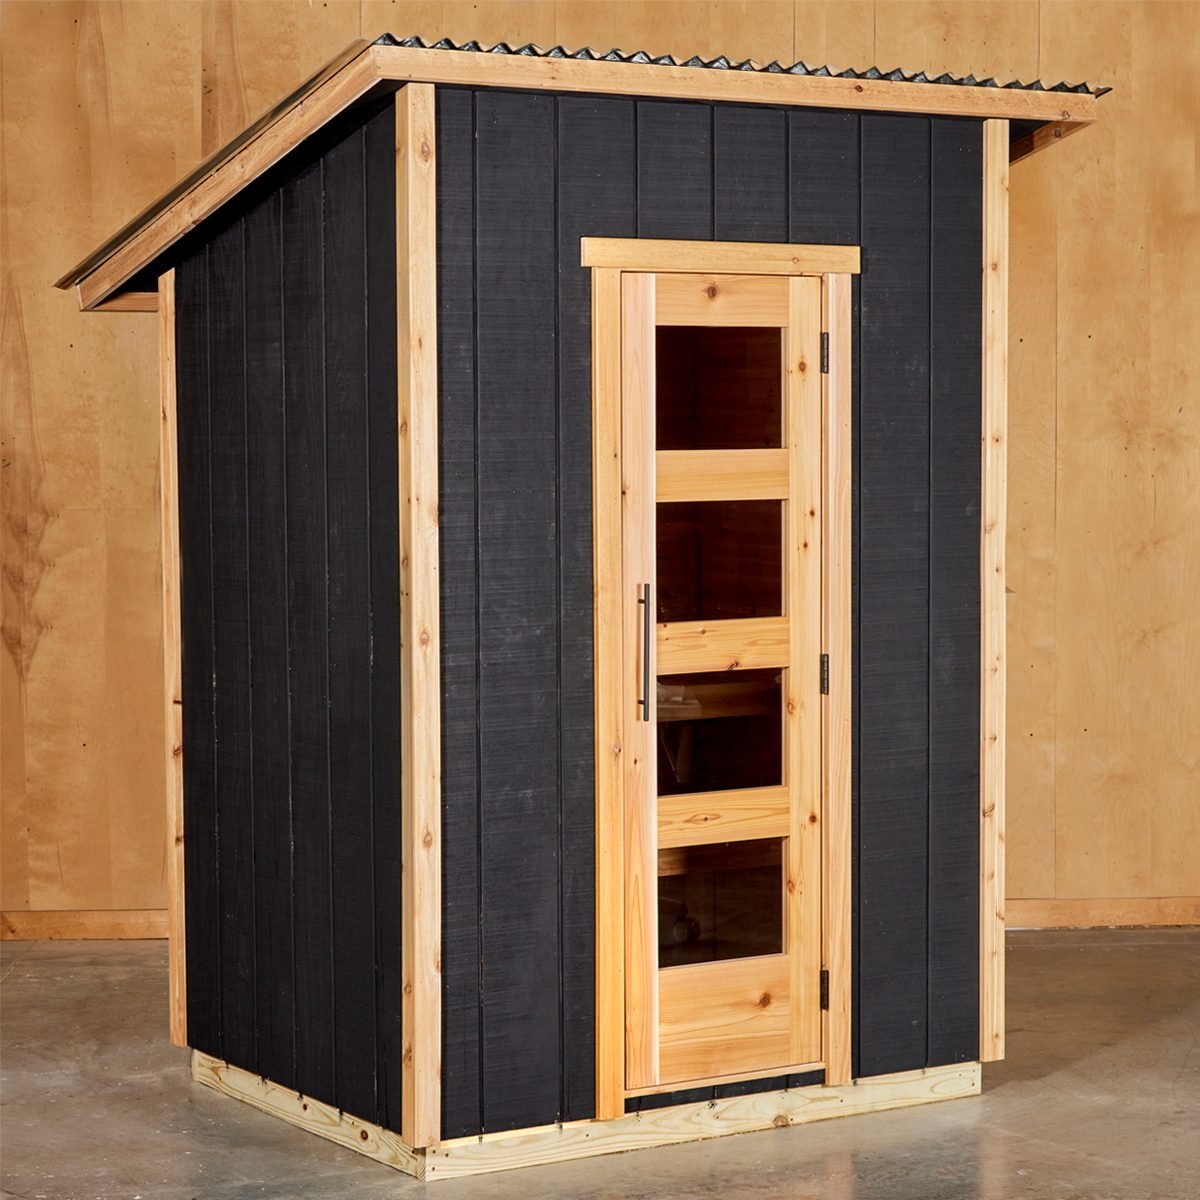
- Door design: Custom glass panel doors can be expensive, starting at $500 and rising from there. One of the main factors is the cost of tempered glass. In designing this custom glass panel door, we discovered a hack that saved us money: We went with tempered glass cutting boards, which are cheaper and come in lots of sizes. You can build your door out of whatever wood you can afford, from pine 2x4s to beautiful hardwood.
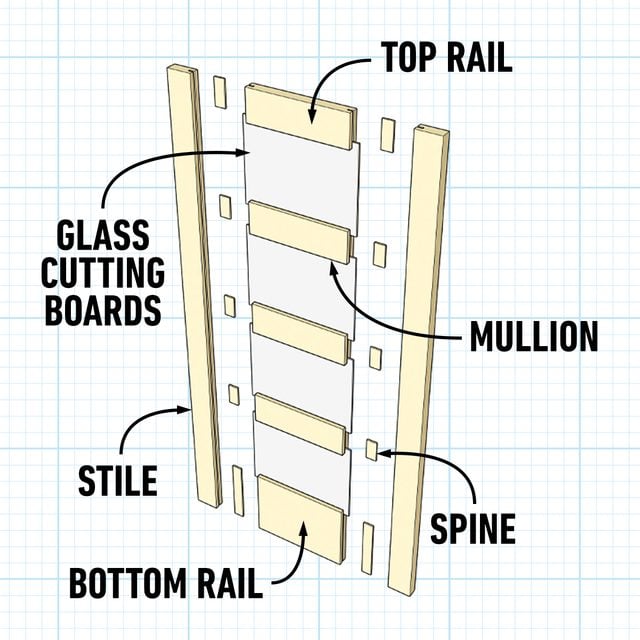
- There are four basic components of a glass panel door: stiles, rails, mullions, and glass panels (see figure above).
- Three things to consider when designing a glass panel door:
- Number of panels;
- Size of the panels;
- Dimensions of your doorway.
The other components of the door will vary in size depending on those considerations, since you’re basically building the door around the glass panels.
- Door size and measuring: Start by measuring the finished opening of your doorway, left to right and top to bottom. Then subtract a 1/2-in. from each dimension to get the size of your door.
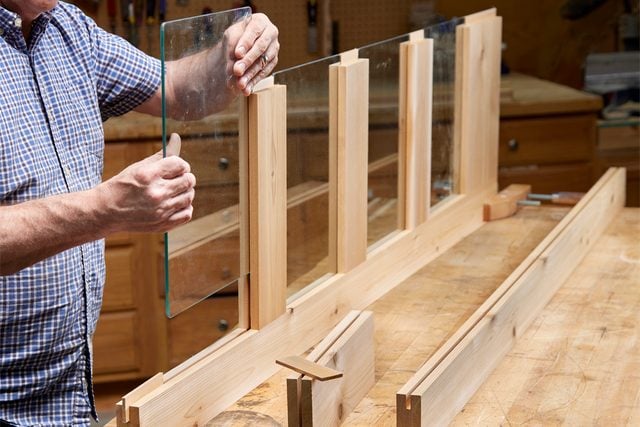
- Door construction: We put this door together with a basic woodworking joint called a “spline joint.” The stiles, rails and mullions feature matching grooves cut in the center of the edge of the boards. A strip of wood (spline) is inserted and glued into the two boards, like a mortise and tenon or tongue and groove joint. The glass panels go into the grooves as well.
- Component sizes: To achieve a pleasant symmetry in your door design:
- The two stiles should be a minimum of 3-1/2-in. wide, with the height equal to that of the finished door;
- The top rail and mullions all can be the same height, a minimum of 4-1/2-inches;
- The width of the rails and mullions will equal the finished door width minus the combined width of the stiles;
- Finally, to figure out the height of the bottom rail:
- Start with the finished height of the door;
- Subtract the total combined height of all the other components (panels/rails/mullions);
- Then subtract the depths of all grooves in the mullions and rails.
Step 2
Cutting Lumber
- It’s always good to start with straight edges on all your lumber. Straight-line your boards with a track saw or plane the edges on a jointer.
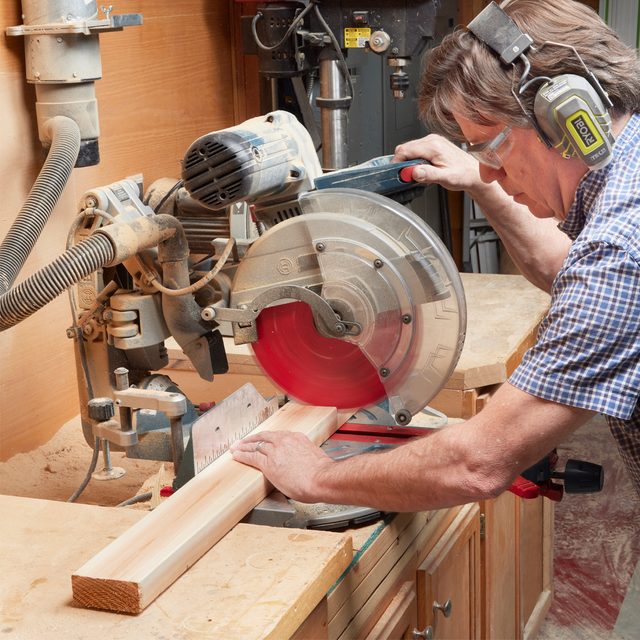
- Next, cut all your pieces to the length on your cut list.
- Pro tip: Cut the stiles a little longer and trim them to size later after you have dry-fitted all your door pieces together.
Step 3
Machine parts
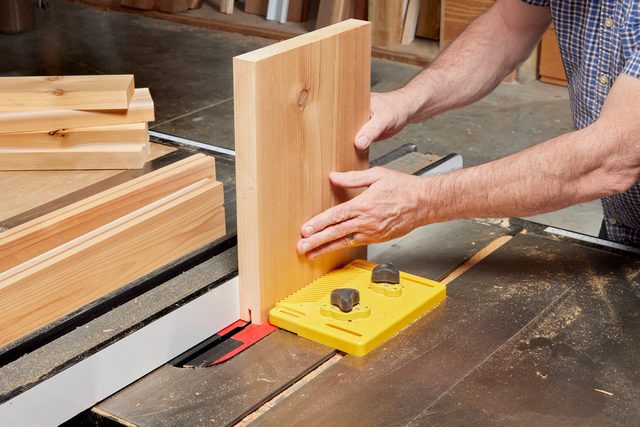
- Using a table saw with a dado blade or a router with a slot cutting bit, cut a groove the thickness of your glass (and a minimum of 1/4-in. deep) on the edges of the boards as follows: one long edge on both stiles, three edges on the rails, and on all four edges of the mullions.
- Rip splines the thickness of your glass and the depth of two slots put together for the width of your spline. Cut the spline pieces to length.
Step 4
Dry fit
- Dry fit all the pieces together starting with the bottom rail, adding a piece of glass to one mullion. Continue until you get to the top rail, then add the second style.
Step 5
Glue and assemble
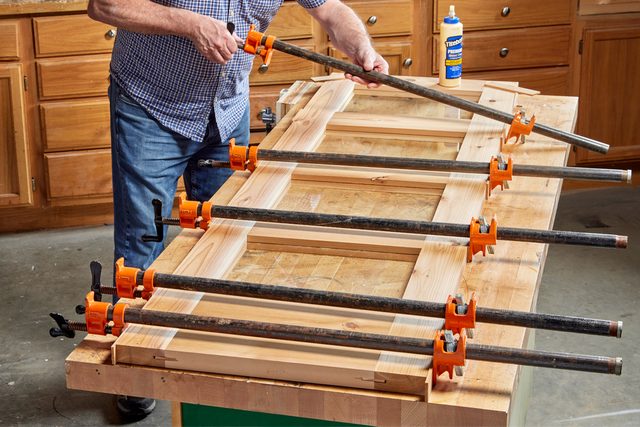
- Disassemble the piece and reassemble it, adding glue to each spline joint. Be sure to wipe away any excess glue as it squeezes out.
- Clamp the door together using bar clamps.
- Pro tip: Place a scrap piece of wood between the bar clamp and your door so you don’t dent the door.
Step 6
Finish
- Allow the glue to dry completely preferably overnight.
- Sand the complete door with 220-grit sandpaper and seal the wood with your desired paint or finish.
- For more information about inset hinges on your door, visit Family Handyman.com
Originally Published: June 20, 2022
