Fill Gaps and Holes
Before painting wood siding, fill large holes and gouges with a two-part resin filler such as Minwax High Performance Wood Filler. You have to mix these setting types of fillers, but they stick better to wood than other fillers. Remove any paint around the area before filling. You can fill nail holes with them too.
For small, shallow blemishes, use an exterior spackling compound. Cracks can be filled with exterior caulk after priming.
Overfill each wood siding repair and then shape it, once it has set, with a file, sharp chisel and sandpaper. Blemishes deeper than 1/2 in. will need additional applications. Once the patch is dry, shaped and sanded, prime it to protect it from moisture.
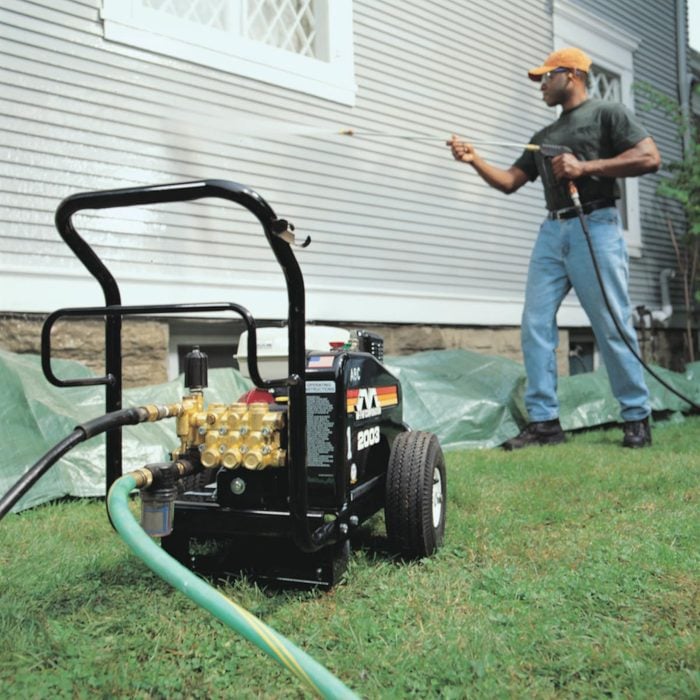
Use a Pressure Washer to Remove Dirt and Old Paint
Paint just won’t stick to dirty or dusty surfaces. You’ll need to clean it even if there’s very little scraping to do, and the fastest way is with a pressure washer. You can rent a pressure washer from a rental store and get a lot of loose paint and grime off your old painted surfaces fast.
These washers kick out a hard stream of water, so try it out on an inconspicuous spot on the house to get the hang of handling the wand. When pressure washing a house, be careful not to hit windows (they can break), and don’t work the spray upward under the laps of siding. Remember, this is for cleaning, not blasting all the old paint off. Of course, some of the old loose paint will fall off, but too much pressure will gouge the wood.
Don’t try to pressure-wash while standing on a ladder. The recoil can knock you off balance. And finally, keep in mind that you won’t be able to do any scraping and sanding for a couple of days until the surface dries thoroughly.
If the prospect of using a pressure washer is just too intimidating, you can get a stiff brush on a pole and a bucket with mild detergent and scrub the surfaces. Follow the scrub immediately with a rinse from your garden hose.
Keep Your Scraper Sharp
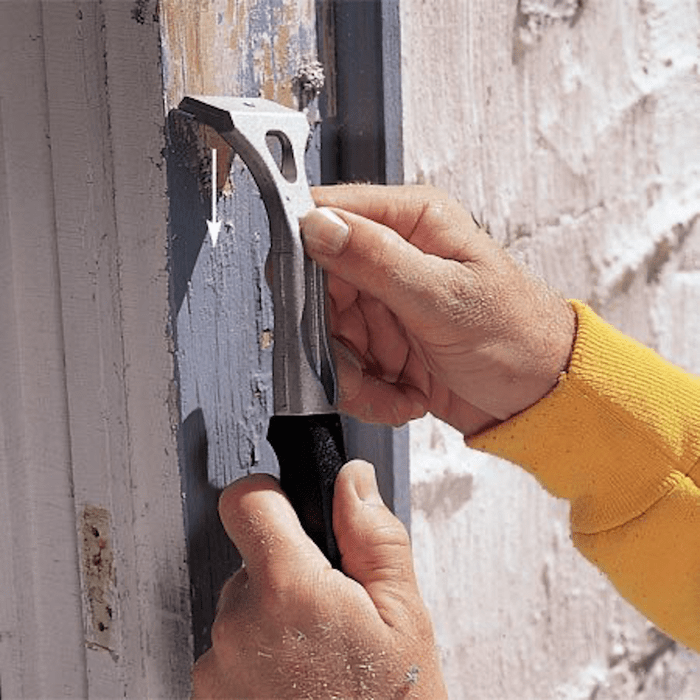
Old, flaking paint must be scraped from wood surfaces or your new paint will eventually let go. Make sure the surfaces are dry. Then scrape in the direction of the grain to avoid tearing the wood fibers and creating an unstable surface for your primer. A sharp scraper is the best, and a carbide scraper like this one will retain a sharp edge even after days of scraping.
You can easily sharpen a steel scraper blade using a fine metal file. The carbide blades last up to 10 times longer but must be sharpened with special tools. There are also scrapers with replaceable blades that come in handy.
Scrape with the Grain in a Downward Motion
Follow the grain of the wood with long strokes. If nails are sticking up, pound them in. If the it won’t stay put, remove the nail drive a new galvanized nail 1/2 in. away.
Pull down firmly with a sharp scraper to remove loose paint. Remember, you don’t need to remove all the paint, just the stuff that flakes away with the scraper.
Don’t scrape wet wood. You’ll tear away the fibers and dig deep gouges into the wood.
Get into tight areas with a small 1-in. scraper. Heavy buildup of paint in corners will eventually crack and let moisture in. Scrape and cut excess paint out of the corners with a sharp putty knife.
Smooth Paint Edges
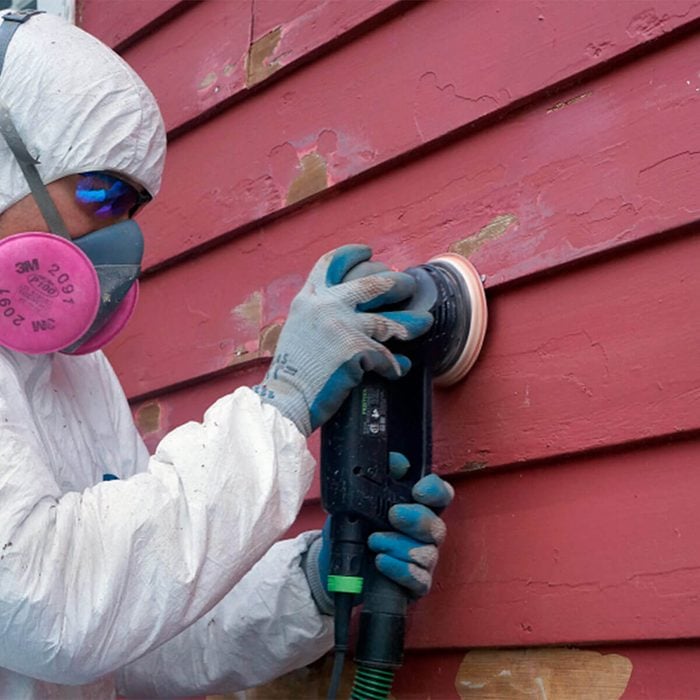
Feather the edge of your scraped areas with a power sander to get rid of sharp edges. These ridges can break the finished paint surface later and allow moisture to get behind the paint. After sanding the surface (use 80 to 100 grit), use a dry brush to whisk away any surface dust, especially on horizontal surfaces like windowsills.
Power sanders cut fast. Use a 60-grit paper for heavy ridges followed by 100-grit for a smooth look. Also sand shiny, old paint surfaces to give the topcoat better bite.
Sand all old, bare wood. Paint won’t stick to wood once it has weathered.
Apply Primer to Trouble Spots First
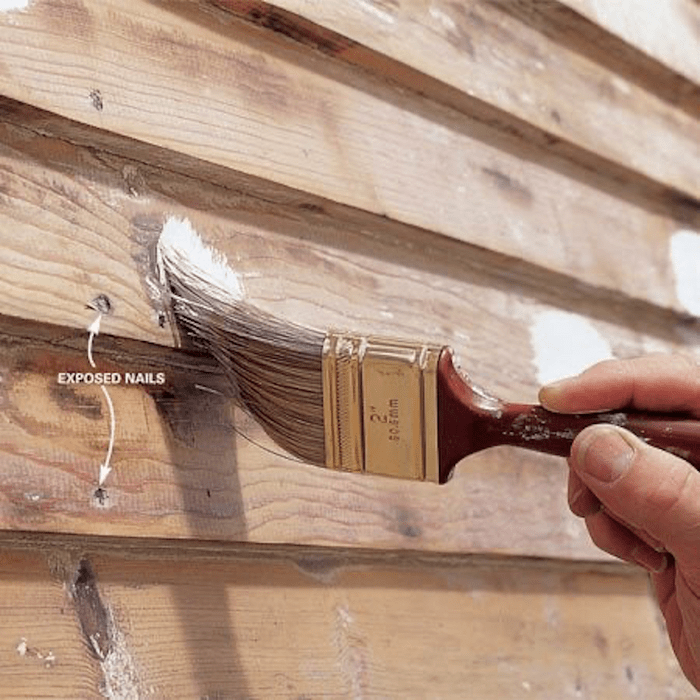
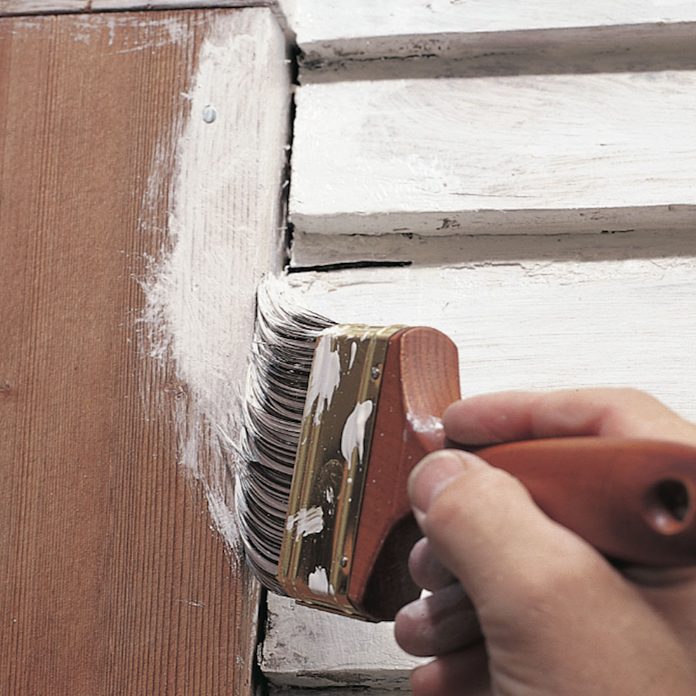
Applying primer is a critical step to prepare surfaces for painting, but to start, you’ve got to deal with the places that are likely to cause problems for your paint job. Spot-prime nailheads and knots with a special stain-blocking primer to prevent unsightly bleed-through from rust or wood resin.
Stain-blocking primers will prevent a “bleed-through” of tannin through the primer and the topcoat and stop old, rusty nailheads from bleeding through as well (Photo 1).
Prime All Bare Wood
Work the primer into cracks and especially where trim pieces meet siding. Even out the primer with long brush strokes and check for drips. Remember to work the primer under the siding laps and into tight spaces and hard-to-see spots. Surfaces that still have old paint that’s adhering well don’t need a primer.
You can choose either an oil or a latex primer and get great results. Oil primers, however, are generally more effective on new wood, metal and previously chalked surfaces. If you’re priming over bare woods that have a high tannin content, such as cedar and redwood, ask your paint supplier for a special stain-blocking exterior primer.
Always try to avoid priming or painting wood siding in direct sun. The extra heat can dry the primer and paint too quickly and prevent adequate penetration. It can also cause oil paints to develop blisters that’ll ruin the skin of the finish coat of paint.
Your paint supplier can add pigment to your primer to get it close to the topcoat color. This is especially helpful when your topcoat is a darker color. You may be able to cover the primed area and old paint surface with one coat of paint.
Caulk Seams and Cracks
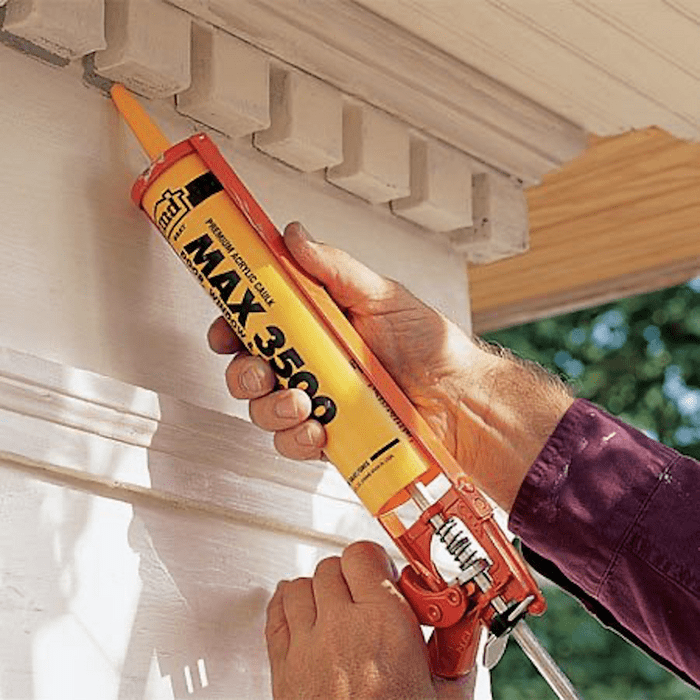
Caulk all the seams and cracks once you’ve primed the surface to keep out moisture and hide unsightly dark lines. Wipe excess acrylic caulk and shape it with a moist rag as you apply it. Let the caulk set (usually a couple of hours) before painting over it.
But how to choose a caulk? Most professionals agree that acrylic caulk and siliconized acrylic caulk are the best for caulking around windows and doors and against corner boards. These caulks are paintable, long lasting and easy to clean up.
Caulk after priming. The caulk sticks best to a primed surface. Squeeze enough caulk into the gaps to get a smooth bead that fills the void. Excess caulk will look sloppy and will only increase the possibility of working loose over time.


