How To Build a DIY Cat Tree and Tower
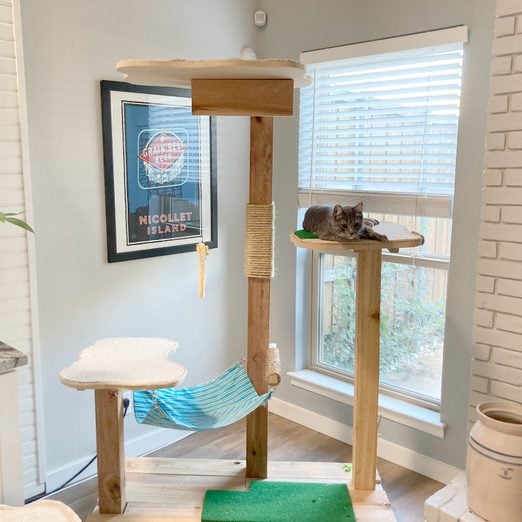
Cat trees don't have to be boring pet store affairs. Make this rugged tree in a weekend.
Our editors and experts handpick every product we feature. We may earn a commission from your purchases.
Two days
Intermediate
$200 and up
Introduction
Last spring we took in an abandoned kitten. Our fat old cat was game, and even gave a little nuzzle, but the dogs were apoplectic. We needed a cat tree, pronto. (The dogs and cats have since become friends.)
Cat trees and towers allow cats to survey their domain from above, plotting their next move far from the chaos below. The standard fare from the pet store worked for awhile, but my cat-lady dream of building an entire habitat of ramps and hammocks wasn't going to start with a boxed cat tree. I needed something built to scale.
This project will take you through building a cat tree and tower. It took about two days, and be aware: This thing is big. I have an open floor plan and really high ceilings, so I needed a cat tree that wouldn't be dwarfed in the space. This type of cat tree would also work great in an outdoor catio or screened-in porch, as it's fairly rustic.
If you need a smaller profile, feel free to scale this down by building a smaller base and reducing the towers from three to two. I also used recycled wood I had on hand, which brought the cost down.
Tools Required
- Circular saw
- Drill bits (various sizes)
- Drill or impact driver
- Hammer
- Hot melt glue gun
- Jigsaw (optional)
- Level
- Miter saw or miter box and hand saw
- Scissors
- Speed square
- Tape measure
- Utility knife
Materials Required
- 1 2x2 for shelf/hammock supports
- 2 4-inch wood fence pickets or other softwood boards
- 2 4x4s for towers
- 2 6-inch wood fence pickets or other softwood boards
- 2 90-degree angle brackets
- 3 2x4s for base
- Bathmats or carpet and/or fabric (for shelves and hammock)
- Drywall anchors
- Grommets
- Hooks and eyes to hang toys and hammock
- Hot-melt glue sticks
- MDF or plywood for shelves
- Sandpaper
- Screws or nails (2 inch and 3 inch)
- Sisal rope
- Tek screws
Project step-by-step (11)
Build the base
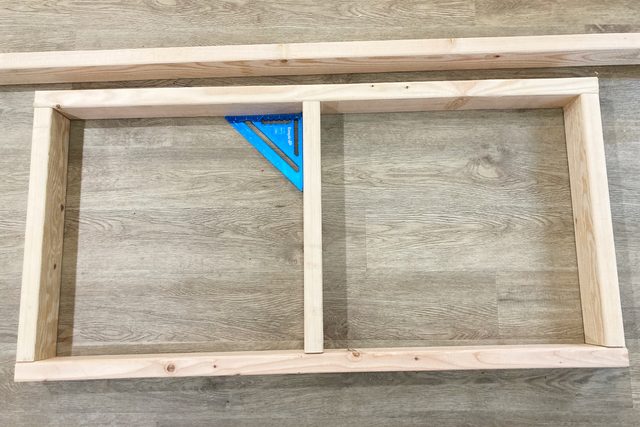
- Cut 2x4s into:
- Two pieces four feet long.
- Six pieces 21 inches long.
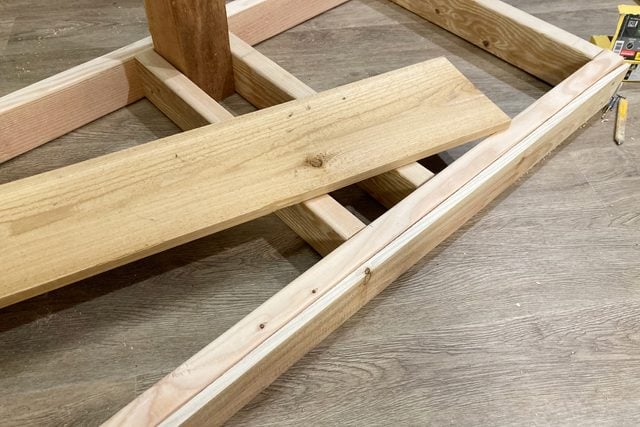
- Arrange two four-foot pieces and two 21-inch pieces into a rectangle.
- Place 21-inch pieces inside the longer ones.
- Perimeter should be two feet by four feet.
- Add a 21-inch 2×4 crosspiece in the middle.
- Square up corners and screw or nail base together.
Attach the middle post
- Cut 4x4s into your chosen heights, depending on your cat’s agility level.
- I did two feet, four feet and six feet.
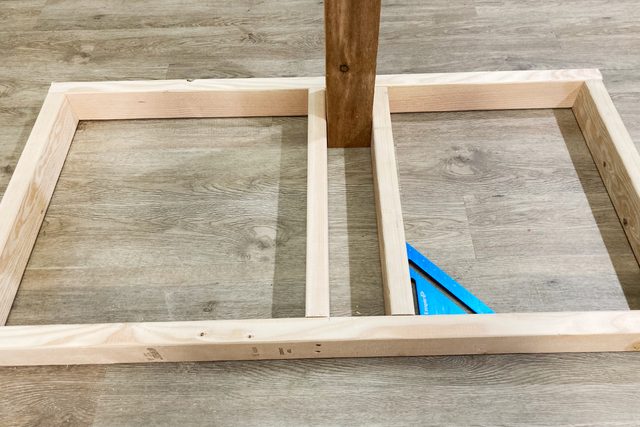
- Stand the tallest post up at the intersection of the back and the crosspiece.
- Screw the post into the base and the crosspiece.
- Add another 21-inch 2×4 next to the post to give you something to screw the floor into.
Attach floor supports
- Stand the shortest post inside base at left.
- Add a 21-inch 2×4 next to post and screw into base.
- Repeat with right side support, using the post as a guide.
Add trim
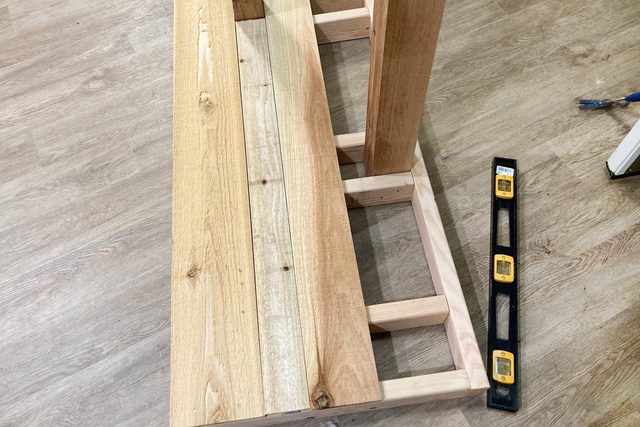
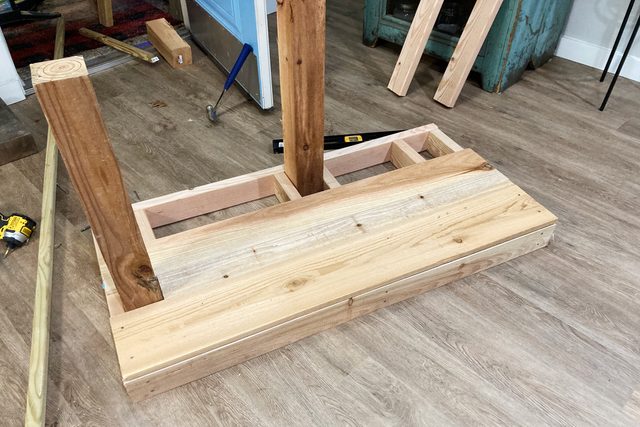
- Cut a four-inch picket four feet long and attach to front of base to cover screws.
Add posts and floor
- Add a six-inch board or picket at front for floor, in line with front of trim.
- Align left post behind first floorboard and screw or nail into base and crosspiece.
- Add two courses of floorboards and repeat on right side.
Make shelves
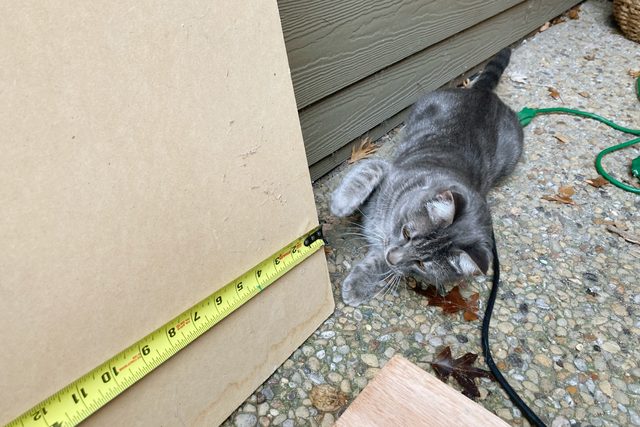
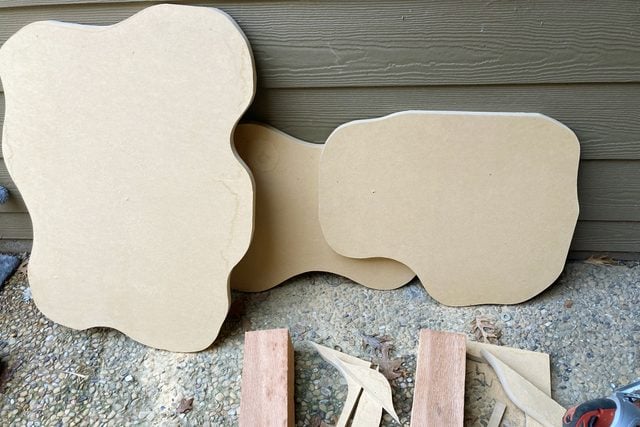
- Roughly measure how big you want your shelves to be and cut to size with circular saw.
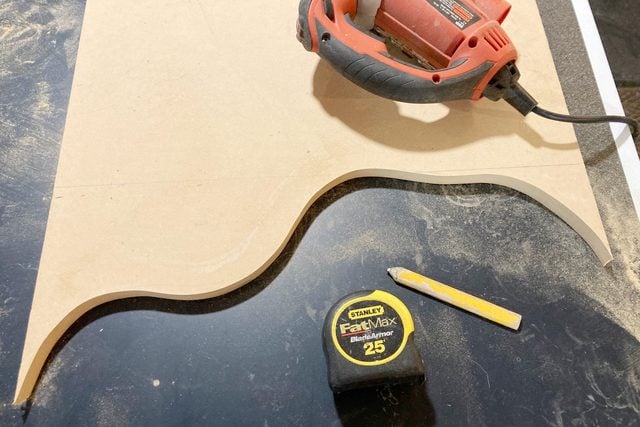
- Sketch the shelf shapes with a pencil and cut out with jigsaw.
-
- I wanted freeform shelves, but feel free to leave the shelves square or rectangular.
Add shelf supports
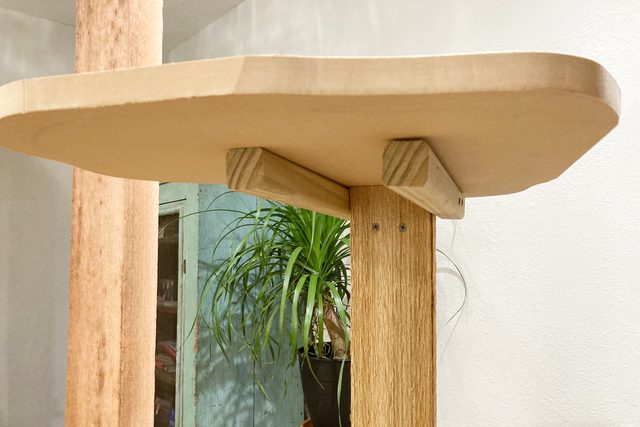
- Cut shelf supports from 2x2s and 2x4s.
- I used four 2x2s for lower shelves and two 2x4s for biggest, highest one.
- Cut sizes so they don’t stick out from under shelves.
- Screw into sides of posts level with the top.
- Add picket trim to cover 2×4, if desired.
Attach and upholster shelves
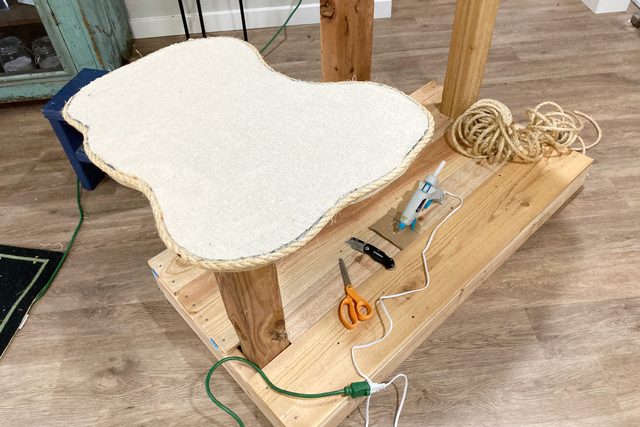
- Cut carpet remnants, bath mat or other shelf covering to size.
- Don’t attach yet.
- I was short on material, so I added a scratcher to one shelf (see Step 9).
- Place the shelves on top of the supports and drive screws into post and supports.
- Cover shelves with your carpet and glue down.
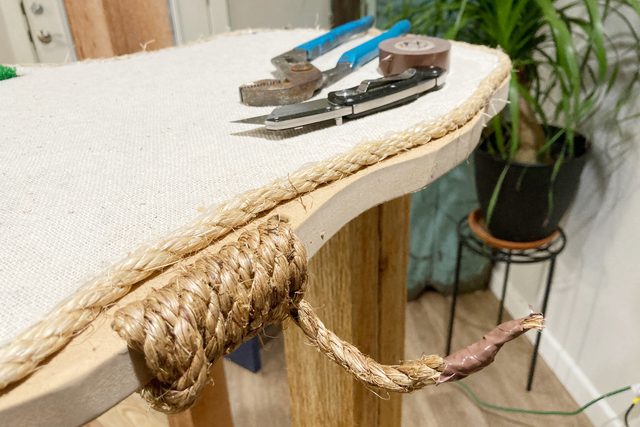
- Attach sisal trim around shelf perimeters with glue.
Add scratchers
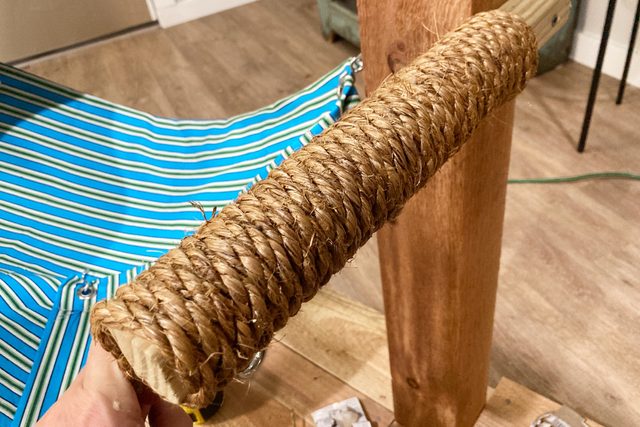
- Wrap and glue sisal rope around posts at desired cat heights.
- Start by tying a knot at the back and wrap the rope around the loose end.
- Alternatively, drive a tek screw into the loose end to hold it while you wrap and glue.
- (Optional): Drill a line of 1/2-inch holes side-by-side about one inch from the edge of shelf.
- Cut out wood segments between holes with a jigsaw and sand edges.
- Wrap sisal rope through holes and around edge of shelf and glue or screw to hold.
Add safety anchors and toys
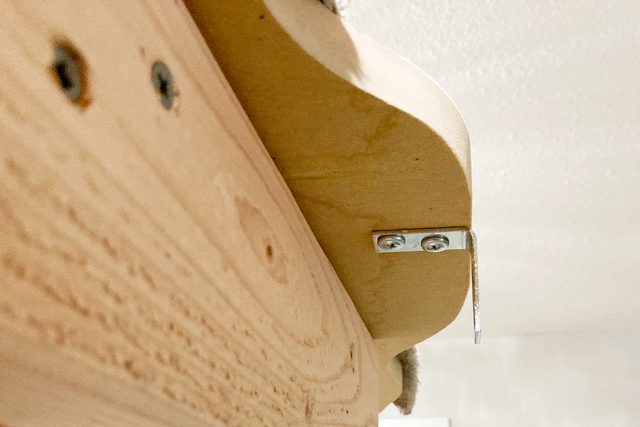
- Attach a 90-degree angle bracket to the top and middle shelves.
- Use drywall anchors to secure cat tree to wall.
- Secure two tallest posts together with a 2×2 brace to prevent wobble, if desired.
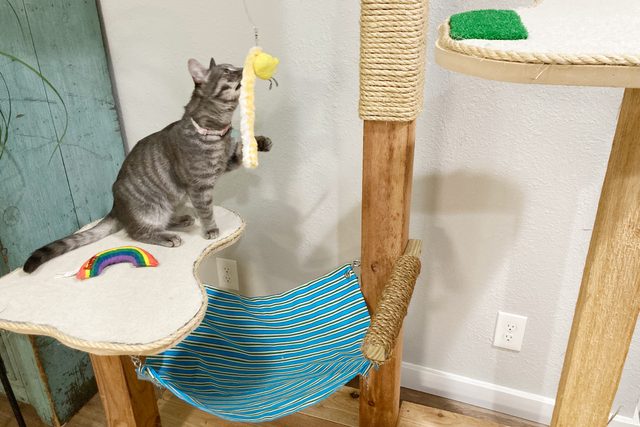
- Hang cat toys from the shelves with hooks.
Add hammock (optional)
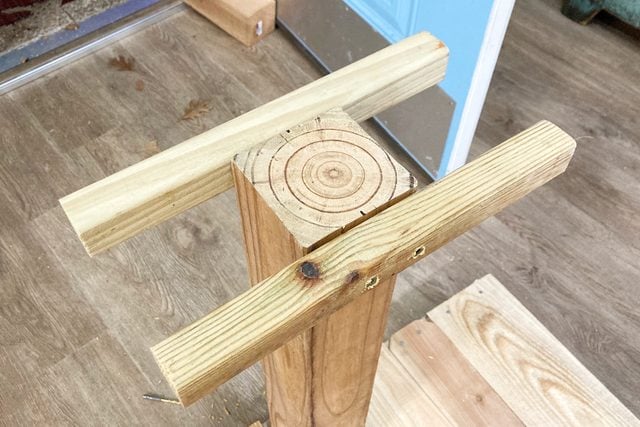
- Attach a one-foot section of 2×2 perpendicular to middle post for hammock support.
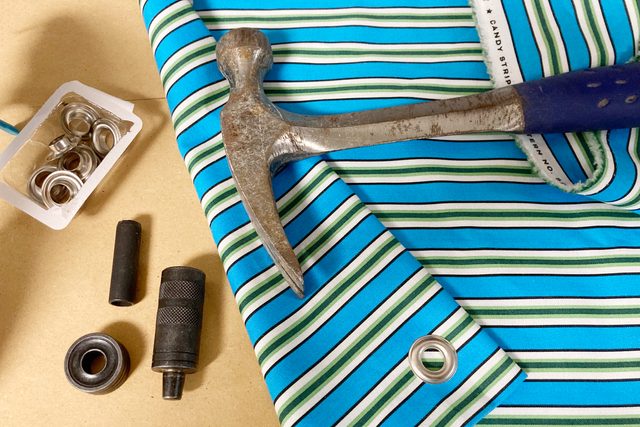
- Make hammock with sailcloth, denim or other sturdy fabric.
- A hot-melt glue hem and some grommets work fine.
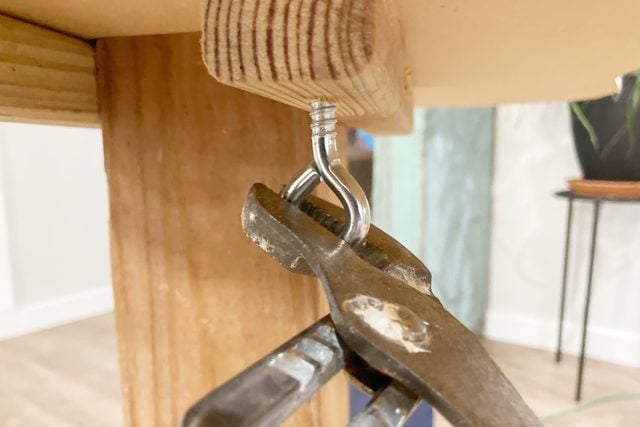
- Screw eye hooks into posts, 2×2 and under the lower shelf at same height.
- Wrap with sisal rope.
- Hang hammock.

