Build a Workbench On a Budget
Introduction
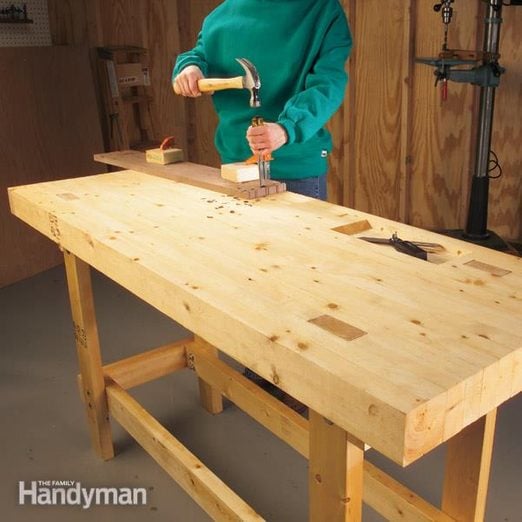
Build a simple, strong workbench made entirely from 2x4s. It's inexpensive (less than $100) and takes only about four hours to build.Tools Required
- Adjustable wrench
- Circular saw
- Clamps
- Corded drill
- Glue
- Hammer
- Jigsaw
- Table saw
- Tape measure
Materials Required
- 2x4s
- 3-in. deck screws
- Carriage bolts
- Lag screws
- Nuts and washers
Here’s a woodworking table that takes only an afternoon to build and can absorb a real pounding. It’s as rugged as an expensive European-style woodworker’s bench, but it’s made entirely from 2x4s. To build it, you’ll need:
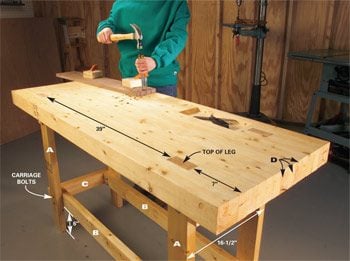
- Four 33-inch 2x4s (legs A)
- Four 46-inch 2x4s (long stretchers B)
- Four 16-1/2 inch 2x4s (end stretchers C)
- Fifteen 5-foot. 2x4s (woodwork benchtop D)
- Sixteen 3-1/2 inch x 3/8-inch carriage bolts, nuts and washers
- Sixteen 3-inch x 3/8-inch lag screws
- 2 lbs. of 3-inch deck screws
Video: Super-Simple Workbenches You Can Build
Project step-by-step (3)
Step 1
Build the Base First
- Clamp together the stretchers and legs.
- Predrill and bolt the base together.
- Pro tip: Keep the width of the legs from outer edge to outer edge at exactly 16-1/2 inches. Use this base as a large sawhorse to assemble the top of this 2×4 workbench.
Step 2
Assemble the Top
- Cut 15 top boards 5 feet long (per the cutting list, above).
- Rip them to 3 inches wide with a table saw so the top will glue up flat without the typical rounded edges of 2x4s.
- For the leg slot, cut two of the top boards into three pieces: a 39-inch middle piece and two 7-inch end pieces.
- Glue and screw the top together, one board at a time, with 3-inch deck screws.
- Pro tip: Keep the ripped edge facing up and level with the adjoining boards. Use a corded drill so there’s plenty of oomph to drive each screw below the surface.
- Clamp every 8 inches or so before driving in the 3-inch deck screws.
- Pro tip: Predrill the screw holes near the ends to prevent splitting. When you’re screwing on the 7-inch long 2x4s to create the leg slots, use a scrap piece of 2×4 as a spacer.
- Bonus element: Note that the third glue-up from each end is where each leg notch is inserted. You can also create a nifty tool tray in the top by notching the three top pieces with a jigsaw.
Step 3
Final Assembly
-
- Pro tip: Before joining the top to the base, loosen the bolts and screws on the lower stretchers to create a little play in the leg posts.
- Align the top notches with the leg posts and tap the top into place with a hammer and piece of scrap wood, working evenly around the table until all leg posts are level with the tabletop.
- Tighten the lower stretchers and you’re done.
Originally Published: November 04, 2020


