How to Cut Metal Roofing
Multiple Days
Advanced
More Than $5000
Introduction
When installing a metal roof, you won’t normally have to cut any of the panels to length. They will either be pre-cut to fit the roof, or panels will overlap one another. But there will be plenty of other pieces of metal roofing to cut during the install. Here are the tools I like to use for the different cuts, and how to do it.Tools Required
- Aviation snips
- Double Cut Power Shear
- Profile Nibbler
Materials Required
- Metal roofing panel
- Metal roofing trim
Project step-by-step (2)
Cut a Notch in Two Steps
If your roof includes a chimney or sidewall, you’ll have to make a notch. I do this in two steps with two tools.
Cut Across the Panels
After marking the notch, I start by making the cuts across the panel, which means you’re cutting over the ribs. The BEST way to do this is with a profile nibbler. Instead of cutting the metal, it actually makes several punches, which allows it to cut over the ribs. Profile nibblers do not track straight so move slowly.
For Long Straight Cuts
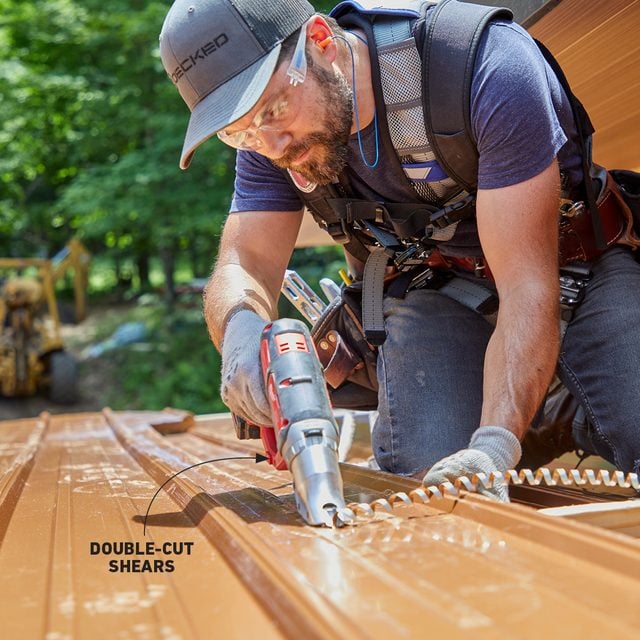
For the straight cut up the flat part of a panel I use a double cut shear. It’s fast, cuts straight and leaves a nice finished edge. Double cut shears make a 1/4-in. wide cut that creates a thin, sharp metal coil, so wear gloves and keep it from scratching the panels.
Cut and Bend Trim Ends
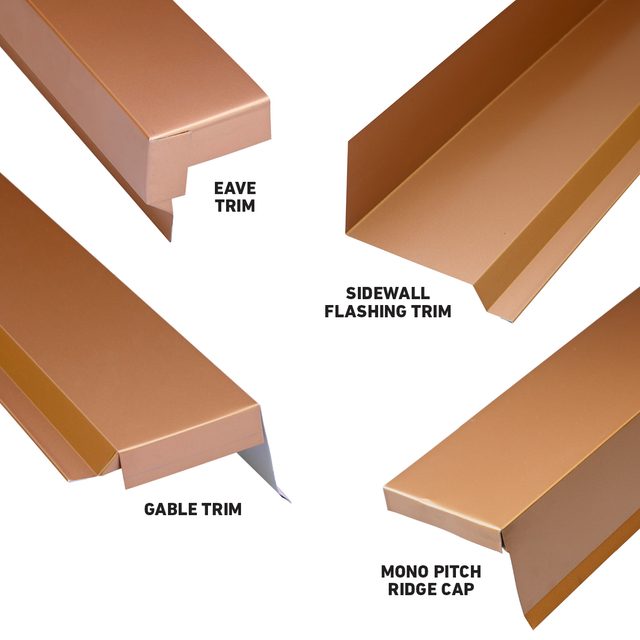
At each end of the roofing trims, tabs need to be cut so the trims can be bent around the edge and close off the gap they create on the roof. Make a series of one-inch cuts with aviation snips at each bend to create tabs. Fold the tabs in with a hand seamer to match the roof edge or peak. Each trim is a different shape, requiring unique cuts and bends.


