How to Build a Vertical Garden
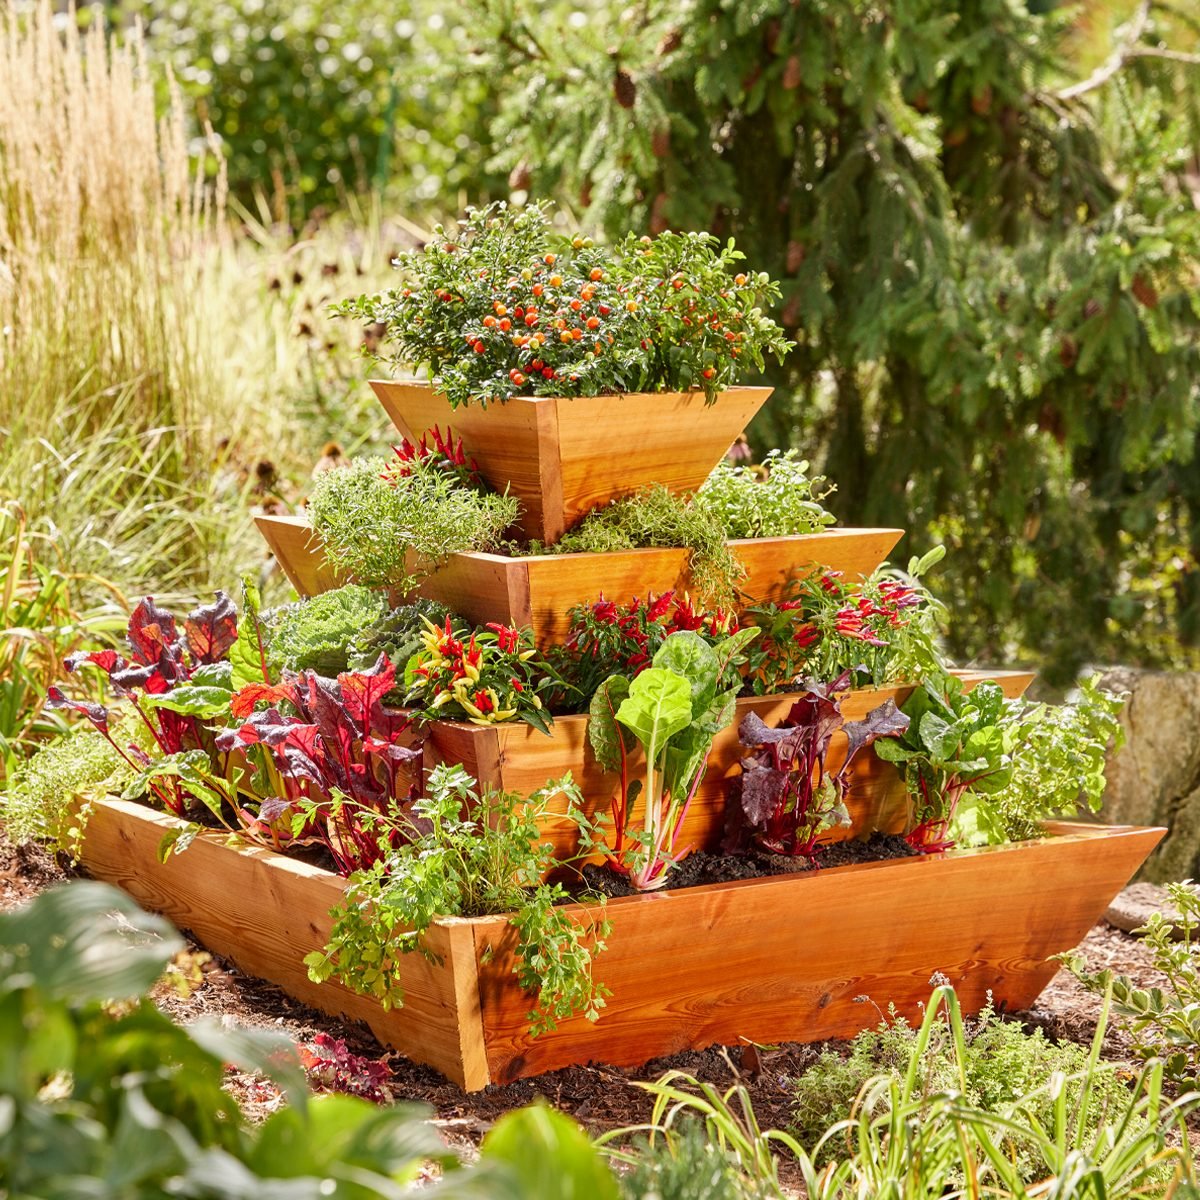
Time to grow up with these plans for a vertical garden.
Our editors and experts handpick every product we feature. We may earn a commission from your purchases.
Two days
Beginner
$1200-1300
Introduction
I love having a vegetable garden. But since I moved to the city, my space is limited. This vertical garden — a simple, attractive design built with cedar boards — has a small footprint and vertical “acreage” that makes the most of my urban backyard.Tools Required
- Basic carpentry tools
- Circular saw
- Drill/driver
- Jigsaw
- Table saw
Materials Required
- 1 - 1-1/2" Dowel
- 12 - 2x12x8' Cedar boards
- 3 - 2x6x8' Cedar boards
- Box 2-1/2" trim screws
Project Overview
Leg Detail
Cutting List
| KEY | QTY. | DIMENSIONS | PART |
| A | 3 | 62-1/2″ x 11-1/4″ x 1-1/2″ | Tier 1 sides |
| B | 3 | 48-1/2″ x 11-1/4″ x 1-1/2″ | Tier 2 sides |
| C | 3 | 3 34-1/2″ x 11-1/4″ x 1-1/2″ | Tier 3 sides |
| D | 3 | 20-1/2″ x 11-1/4″ x 1-1/2″ | Tier 4 sides |
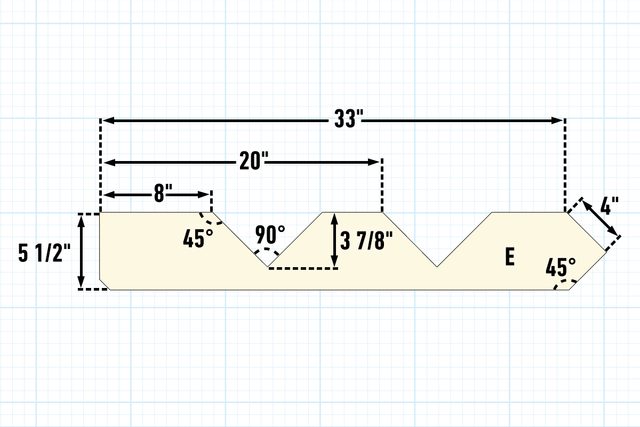
| E | 3 | 33″ x 5-1/2″ x 1-1/2″ | Stand Legs |
| F | 1 | 36″ x 1-1/2″ | Center Dowel |
Project step-by-step (10)
Choosing wood
Although pressure-treated lumber no longer contains arsenic, I still avoid using it where I’m growing food. Decay-resistant woods such as redwood and red cedar are alternatives that look great and last for years.
Build the circular saw guide
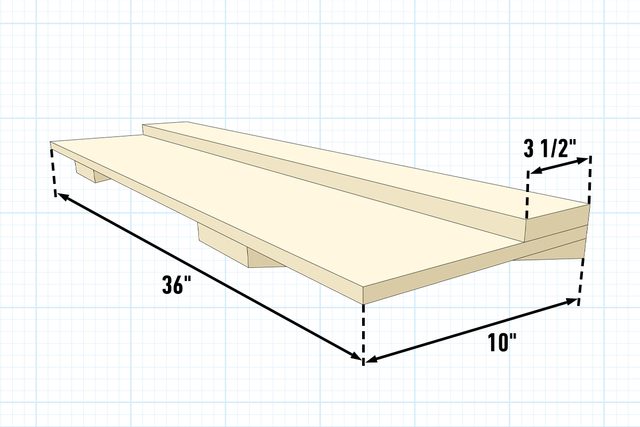
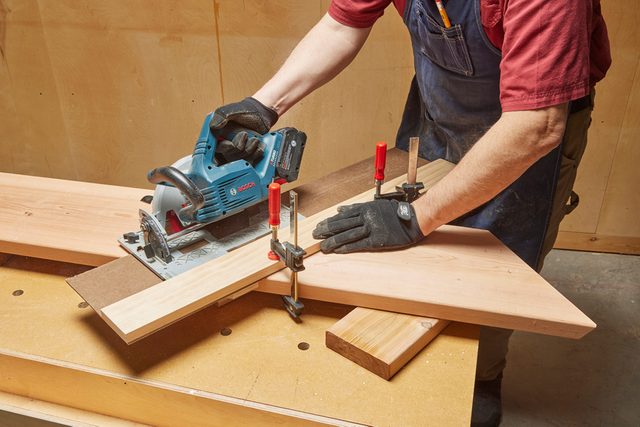
My favorite aspect of this project is its simplicity. It assembles with butt joints and requires only one setup on the saw. I designed the guide above so any circular saw can make these compound miter cuts.
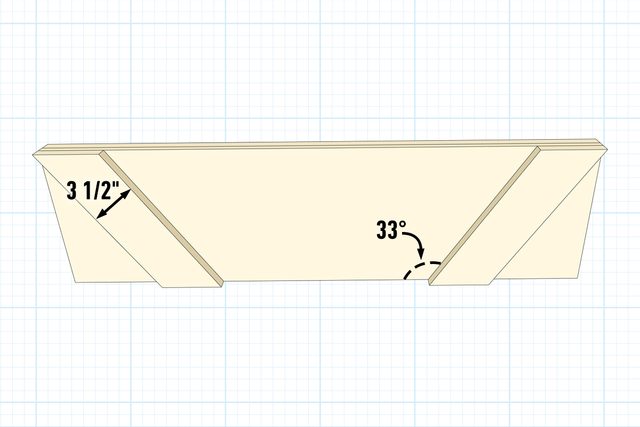
To set up the saw guide, tilt the blade on the saw to 16 degrees and make a cut. This will make the zero-clearance base for your saw. The blocks on its underside serve as clamping stops at your intended 33 degrees. Now you can line up all your cuts to the cut edge at the bottom of the guide.
Make the first leg
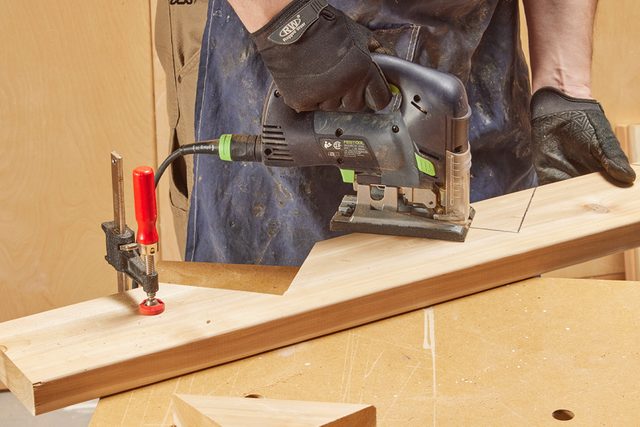
Following the leg detail above, mark the cutting lines on a 2×6 cedar leg blank. Cut the stair steps and angled ends using any method you’re comfortable with. I chose a jigsaw and a miter saw.
Cut the remaining legs
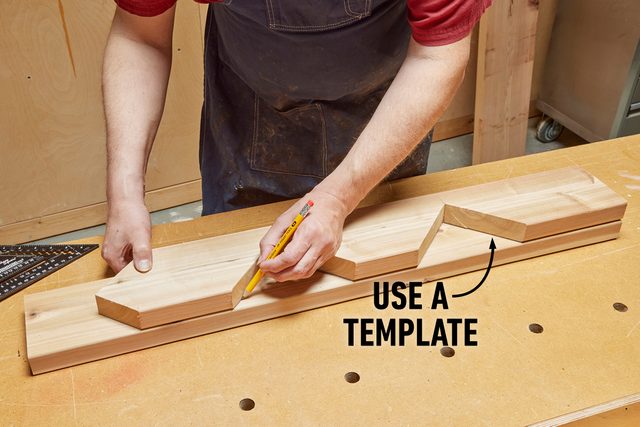
Use the first leg as a template to lay out the other two. Cut them as you did the first one.
Assemble the tripod
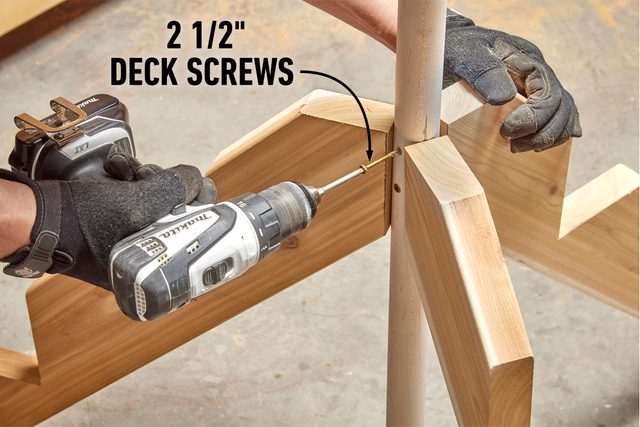
Make a mark every 1-1/2-in. around the circumference of the center support dowel to indicate the spacing for the legs. Drill pilot holes through the dowel and use 2-1/2-in. screws to attach the legs.
Cut the tier sides
Clamp the saw guide to the 2×12 cedar and make one angled cut across the board. Make the mark for the opposing cut from the top corner, and then flip the guide around and make the second cut. Make three sides for each tier level.
Bevel the top edges
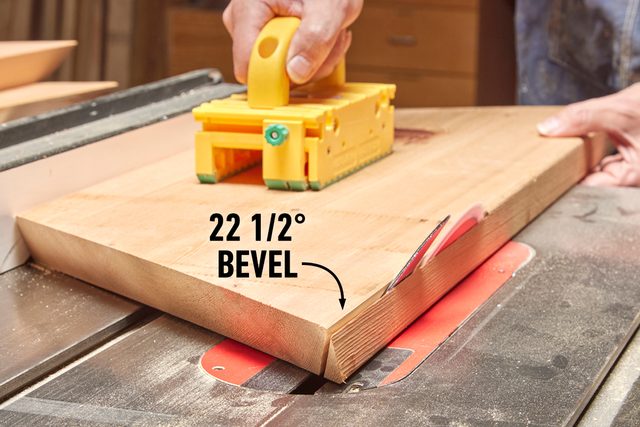
Before assembly, bevel the top edges of the boards so they appear level when assembled. With the table saw blade set to 22-1/2 degrees, trim the top (long) edge with the short edge against the fence.
Assemble the tiers
With one side flat on the workbench, tack the next side in place with brad nails, then secure it with trim screws. Finish with the third side.
Find level ground
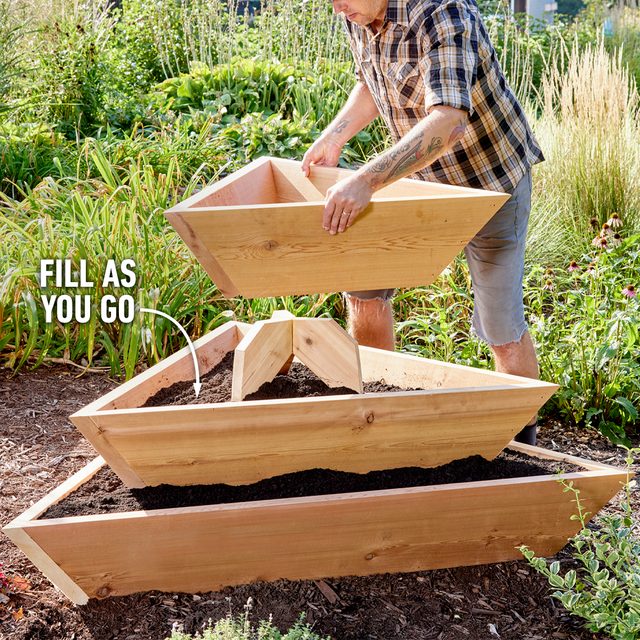
Find or create a level area where the lower tier and legs can sit. It doesn’t have to be perfect; just make sure it’s not tilting too much. Set the lower tier with the leg stand centered inside. Set the second tier and start filling with potting soil.
Plant and enjoy
Fill the garden with soil as you stack the tiers. Now you’re ready to start growing!
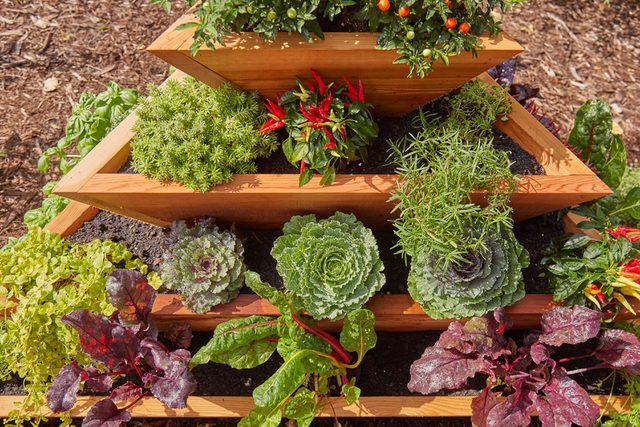
This vertical garden is perfect for herbs and small greens. Even growing carrots would do well!
