Inexpensive Torpedo Level
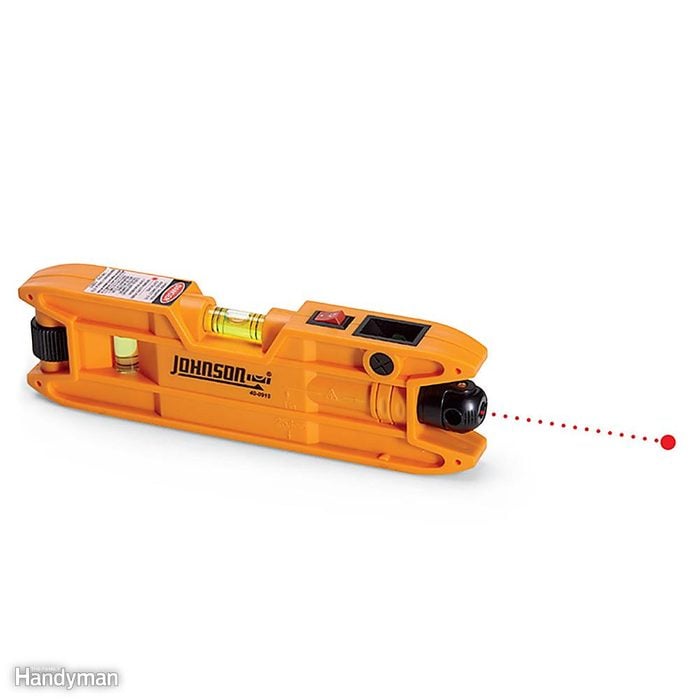
Buy an inexpensive torpedo laser level for occasional use around the house, or if you want a compact level for your tool belt. As with traditional levels, you'll have to manually align the bubble with the center of the vial. Then the laser will project a level or plumb laser line or dot. The Johnson Magnetic Torpedo Laser Level is one example (about $20 online).
Laser Level Square
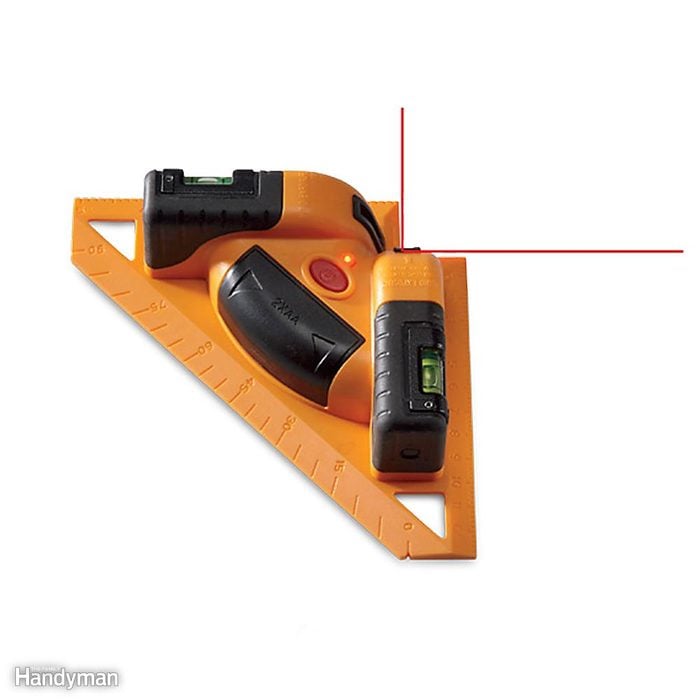
For tile layout and for laying out 90-degree corners for decks or sheds, a laser level square is handy. It will project a pair of perpendicular lines. You can pick these up for about $40.

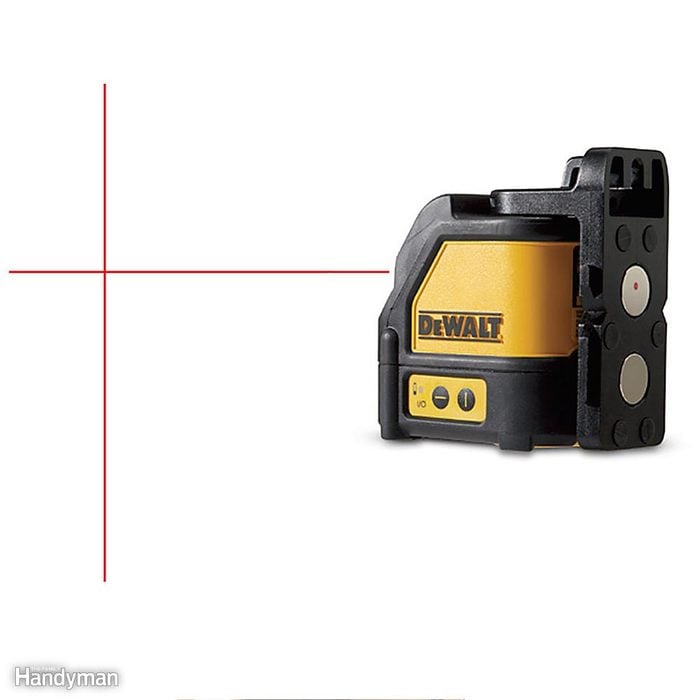
Three- or Five-Point Self-Leveling Laser
Auto-Leveling Rotary Laser
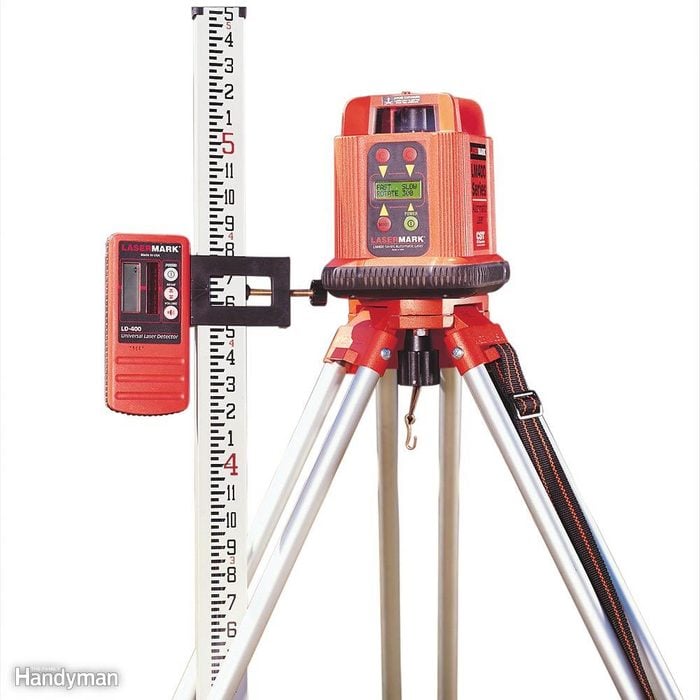
Rent an auto-leveling rotary laser for large outdoor projects like setting elevations for foundation footings or leveling posts on a large deck. The kit, which costs about $60 a day, will include a tripod, an elevation rod and a laser detector. The laser detector allows you to use the laser in bright sunlight.

Working in Bright Light? Use Special Glasses
Laser beams are hard to see in bright light. But you can improve the visibility of the line or dot with special red glasses. Don't expect miracles, but the glasses definitely make the beam easier to see, and they're worth buying if you're working outside or in a brightly lit space. You'll find laser-enhancement glasses at some home centers or online for $10 and up.
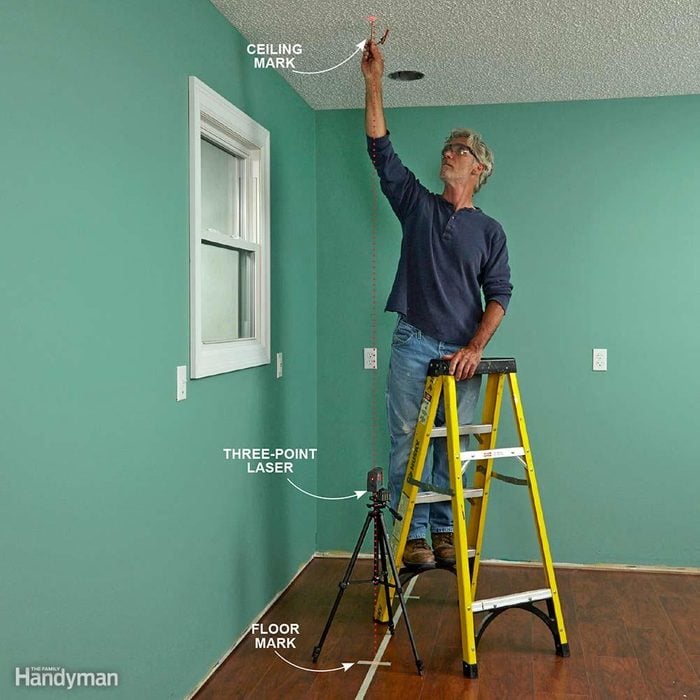
Lay Out on the Floor First
With a point-type laser level, you can lay out your ceiling box and light fixture locations on the floor, where it's easy to measure, and then use the laser to transfer them to the ceiling. This technique is especially useful for vaulted or sloped ceilings, where locating light fixtures would require a plumb bob.
Start by marking the light fixture locations on the floor with masking tape. Then elevate the laser and line up the downward pointing beam with the center of the fixture. Now you can mark where the upward pointing beam hits the ceiling.
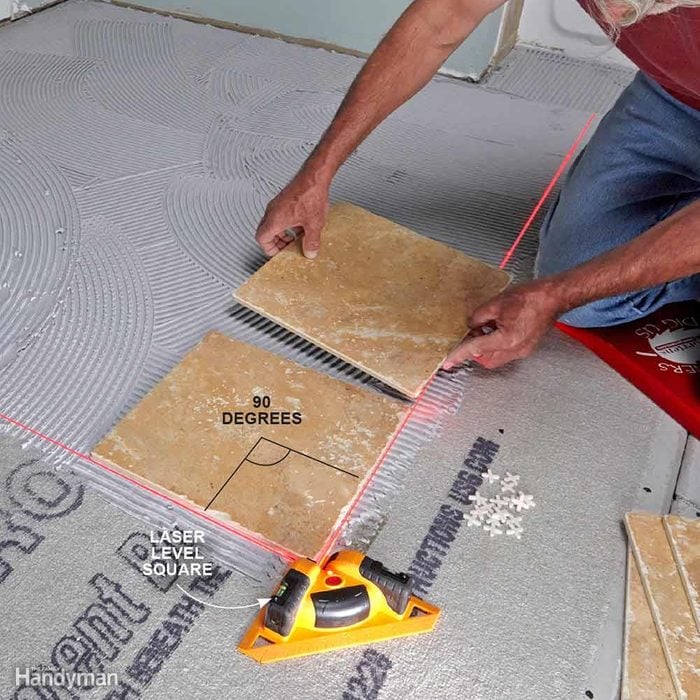
No-Fuss Square Layout Lines
All kinds of remodeling projects require square layout lines. Tiling—floors or walls—is a perfect use for a laser level square. The only function of this special type of laser level is to project a pair of perpendicular lines, like crosshairs. A laser square is great for planning your layout: You can set it on the floor and measure from the lines to see how your tile layout will work. And it's perfect for actually setting tile too, because the lines won't get covered by the thin-set or mastic. You'll find laser squares at home centers and online.
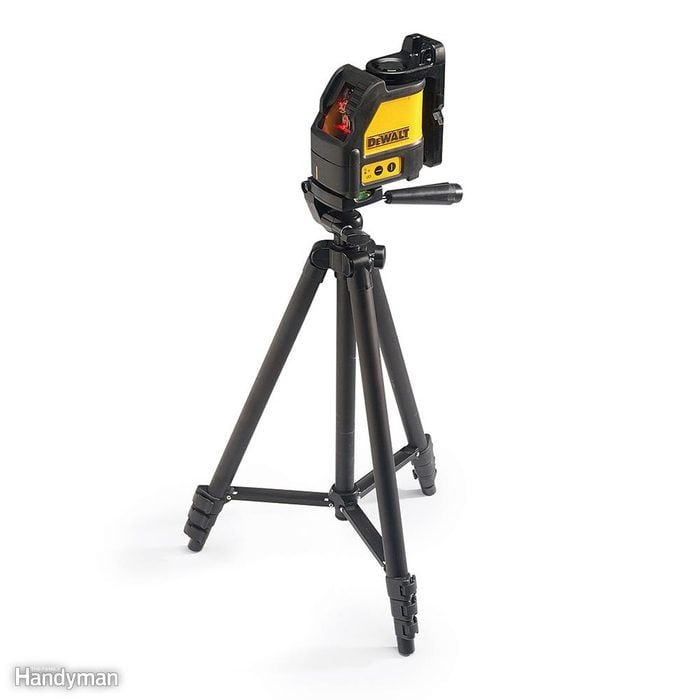
Mount it on a Tripod
Most laser levels have a threaded hole on the bottom that accepts a standard 1/4-in. tripod mount. Some laser levels come with a tripod. But if yours doesn't, it's worth buying one. A tripod allows you to easily adjust the laser to the best height and level it on uneven ground.
But you don't need a tripod that's designed for lasers. If you already have a camera tripod, it'll probably work just fine with your laser since the threads are usually the same size. Or buy a cheap one wherever cameras are sold.
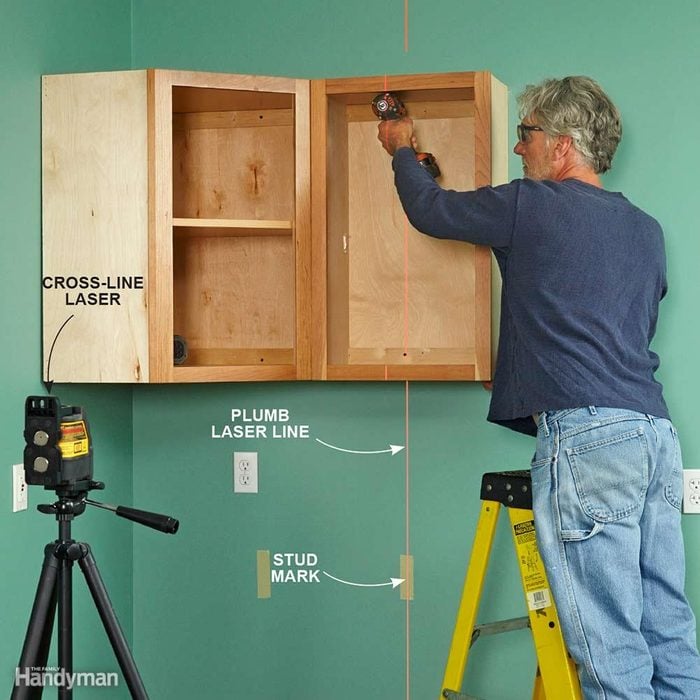
Transfer Stud Locations With a Laser
If you've ever installed kitchen cabinets, you know how time consuming it is to mark the stud locations inside the cabinet to position the mounting screws. With a laser level that projects a plumb line, it's easy. You still have to locate the studs and mark the centers. But once this is done, you can simply align the vertical beam with the stud mark and drive your screw on the laser line. This tip will work for cabinets, shelves or any other installation that requires you to anchor to studs.
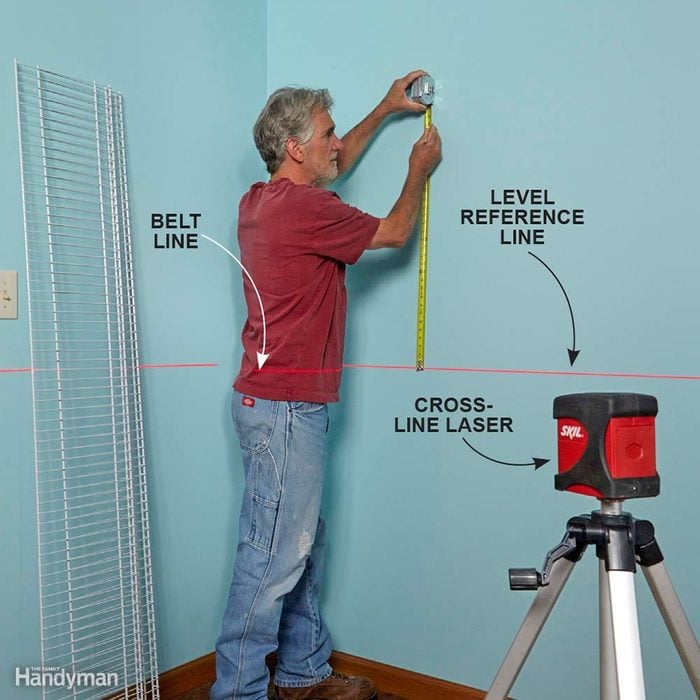
Measure From a Level Reference Line
A common misconception about using a laser is that you have to get the beam lined up exactly where you want the line to be. In most cases, it's easier to simply project a laser line somewhere on the wall, and use it as a reference. Just measure up or down from the line the desired amount and mark the wall. When you use this method, it's a good idea to mark the wall at the laser line, too. Then if the laser gets bumped, or you move it, you can reestablish the same reference line by lining up the laser with your mark. You can also use a point-type laser as a reference. You'll just have to swivel it to make marks in other locations.
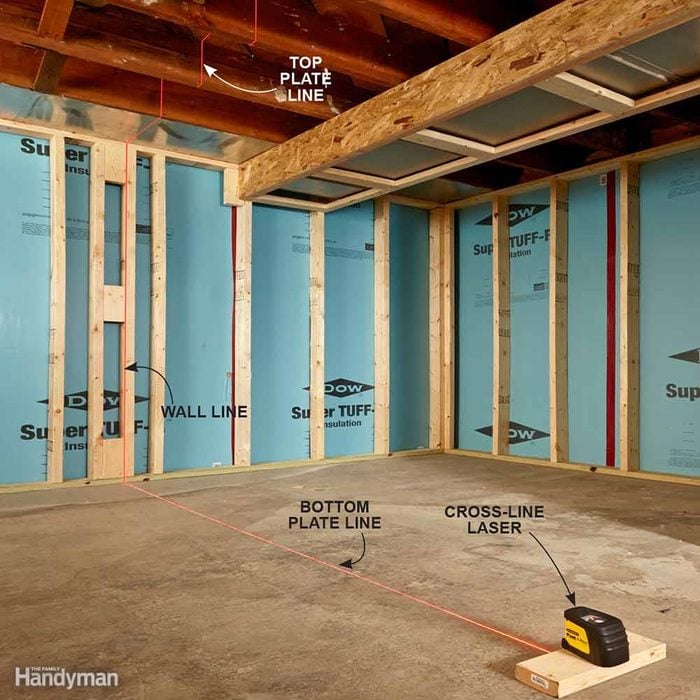
Build Walls With Laser Lines
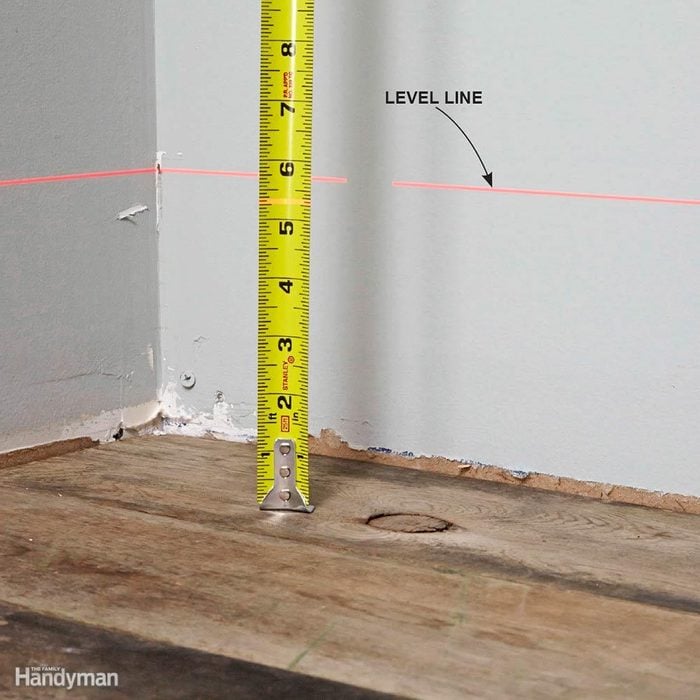
Find the High and Low Spots in a Floor
When you start a kitchen cabinet installation or tile a wall, you need to know whether the floor is level and how much variation there is from the high and low spots. It's easy to figure out with a laser level.
Just set the laser on a few scraps of wood or a paint can in a spot that will project a beam across the floor. Make a quick sketch of the floor plan. Then pick a spot and extend a tape measure to the floor. Note the measurement where the laser beam crosses the tape, and mark this on your sketch. Then check other areas of the floor and jot down these measurements. The location with the smallest dimension is the highest spot, and the difference between the largest and the smallest dimensions tells you how much the floor is out of level.
