How to Get Your Lawn Mower Ready for Spring

A little maintenance twice a year pays off with longer, more reliable lawn mower performance. The work isn't difficult and takes less than an hour to get your lawn mower ready for spring.
Our editors and experts handpick every product we feature. We may earn a commission from your purchases.
All walk-behind, gasoline-powered lawn mowers need maintenance twice a year, and the procedures that make sense are different in fall and spring. Begin by reading your owner’s manual for tips on required mower maintenance, then follow the list here to get your lawn mower ready for spring.
On This Page
Spring Lawn Mower Maintenance Checklist
Replace the Blade and Belt
Install the new or sharpened blade if you didn’t do that in the fall. Use a socket wrench to tighten the single mounting bolt or bolts. Install a new drive belt if your mower needs one after fall inspection.
Reconnect the Spark Plug Wire
Simply push the connector on the end of the wire all the way over the end of the spark plug as far as you can. Do not reconnect the spark plug wire until the mower blade is secured.
Fill the Tank With Fuel
Make sure the fuel is fresh. If you have old fuel that sat in a can over winter, add it to your vehicle gas tank next time you get a fill-up.
If your mower has a four-stroke engine, it’s made to burn unmixed gas just as it comes from the pump. If your mower has a two-stroke engine, it requires special oil to be mixed with the gasoline before it goes into the tank. The owner’s manual will explain how much oil to add to a given volume of gas.
Oil the Axles and Controls
A few drops of machine oil on each wheel axle and all control pivot points makes them work much more smoothly. This is a little thing that makes a big difference.
Roll the Mower Outside and Fire It Up
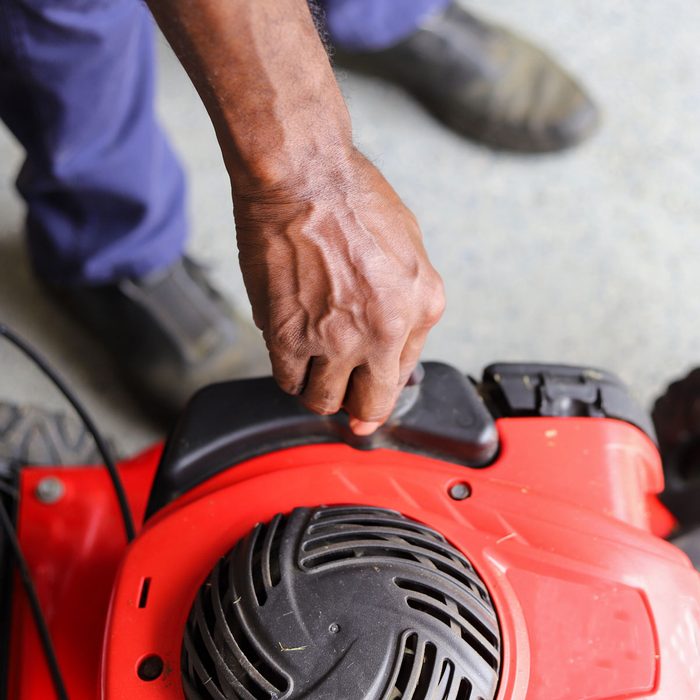
If your lawn mower was running well in the fall, it should start up after a few pulls in the spring. If your mower doesn’t start, remove the air filter and pour a teaspoon of gasoline down the intake port of the carburetor. Replace the filter, switch the ignition ON, then pull the cord. You should be all set for another great looking lawn this season.
Fall Lawn Mower Maintenance Checklist
Consider Engine Fogging
Spraying special oil into the air intake of a running engine before long term storage is called fogging. It’s the best way to prevent internal engine corrosion of the piston, cylinder and valves of your mower during the off-season. Fogging oil is especially important in regions with cool, damp winters that trigger condensation inside the engine. Winterizing your mower will keep it in good condition for next year.
Run the Mower Dry
Operate the mower until all gasoline is completely consumed from the tank and carburetor and the engine quits on its own. If you’ll be fogging, remove the air filter and spray the fogging oil into the open carburetor as the last of the fuel is consumed.
Clean or Replace the Air Filter
The air filter removes dirt from the air before it’s drawn into the engine and burned. A dirty air filter reduces the power of your mower and increases fuel consumption. Clean and replace your current filter following the owner’s manual or install a new one.
Pull the Ignition Wire Off the Spark Plug
This ensures that the mower can’t start accidentally while you’re working on it. If the spark plug is more than three years old, replace it with a new one of the same type so you’re ready for next spring.
Change Engine Oil
Most lawn mowers have four-stroke engines that use a bath of engine oil in the crankcase. This oil in your mower should be changed every 25 to 100 hours of operation during the season. But no matter how little you used your mower this year, the oil should be changed before storage. Fresh oil is the best protection against corrosion of the crankshaft and bearings.
Two-stroke lawn mowers don’t have an oil bath crankcase so there’s no oil to change. Your owner’s manual will tell you want kind of engine you’ve got. Take the used oil to an auto garage or municipal collection facility for safe disposal.
Clean the Underside of the Mower Deck
All lawn mowers develop layers of caked grass under the mower deck, and these layers can cause poor cutting performance. Set the mower on some sawhorses or tip it up on the ground and use a small pry bar or stout scraper to remove all caked-on grass.
The underside of the deck does not have to be super-clean, just remove material down to the metal. If the grass clumps are too hard and dry to scrape off, soak the underside of the mower with a garden hose, let the grass soften for an hour, then scrape it clean.
Inspect the Blade
If your lawn mower blade is pitted or the cutting edge is rounded over, remove the blade for resharpening or replacement. Doing this in the fall gives you time to gather parts and get things ready for mowing again in the spring.
Inspect Drive Belts
Most lawn mowers don’t have a drive belt, but some do, especially self-propelled models. Your owner’s manual will explain if your mower has a belt and where it is. Inspect the belt for cracks or frayed edges and buy a new one if necessary to have on hand for spring.


