How To Restore a Hardwood Deck
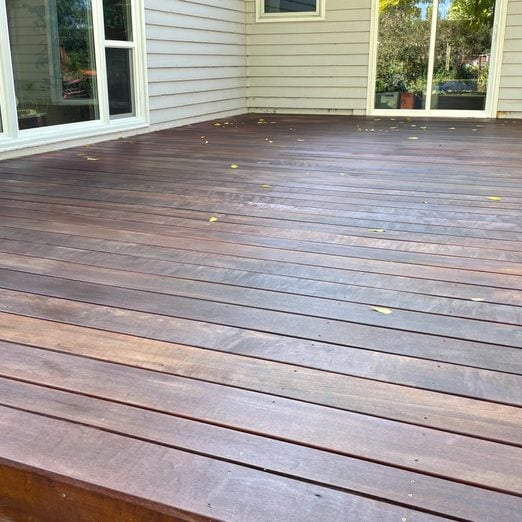
It's possible to restore a deck and preserve the rich color tones of the hardwood. Here's how to do it!
Our editors and experts handpick every product we feature. We may earn a commission from your purchases.
approx. 30 to 45 min. per 100 square feet of deck
Beginner
$100 - $200
Introduction
Some people like their hardwood decks to turn gray naturally. Others prefer to retain or bring back a deck's deep colors and textures. We decided to keep this deck we built for my mom as vibrant as possible by applying a penetrating oil finish.
Protectants like this penetrate the fibers of the wood to shield it from UV rays and resist moisture, which keeps it from cracking and drying out. Regular treatments every two to three years can also significantly extend the life expectancy of a deck.
Note: If your deck is new, do your first treatment three to six months after installation, giving the deck enough time to acclimate to the climate and environment. Then apply again a year later before shifting to the every-two-to-three years schedule.
Pro tip: For optimal results, do this project when the forecast calls for at least 72 hours without rain.
Tools Required
- 5-gallon bucket with lid
- Garden hose with spray nozzle
- High-quality and suitable for oil paints 3 to 4 inches wide
- Orbital sander (optional)
- Paintbrush
- Soft-bristle scrub brush with screw-in extension pole
Materials Required
- Box of lint-free rags (or old t-shirts or retired towels)
- Penofin First Step Prep for Hardwood cleaner (1 quart per 600 square feet)
- Penofin Penetrating Oil Finish (approx. 1 gallon per 350 square feet)
- Sandpaper 1 to 2 sheets 220-grit
Project step-by-step (3)
Clean and prepare the surface
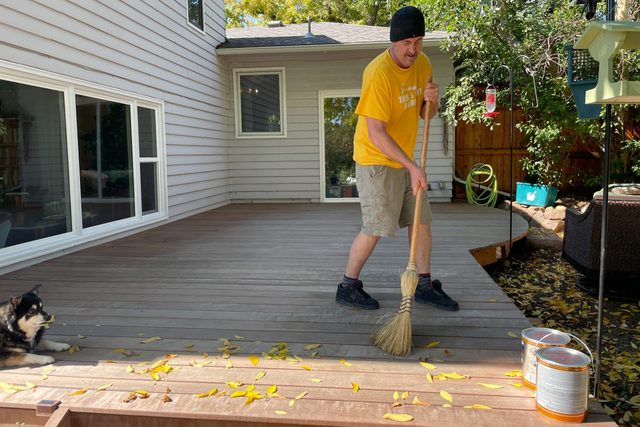
- Sweep the deck of any loose debris, like leaves and dirt.
- Heavily wet the deck, then apply the cleaning solution per the manufacturer’s instructions. Remove or cover bordering metal surfaces and any items or plants stored under the deck that could be harmed by the cleaner or the oil stain. Dampen surrounding vegetation with water.
- Use the soft-bristle scrub brush to clean the surface of the deck.
- Thoroughly rinse off the deck with the hose, then wait at least 24 hours for it to dry. The deck must be completely dry prior to applying the protectant coating.
- On the dry deck, gently sand off any stains by hand (use 220-grit sandpaper) or an orbital sander. If a stain remains, it may be too deep in the wood grain to fully remove.
- Sweep any remaining debris off of the deck.
Pro tip: While inspecting the deck for stains, fasten loose screws and sand away splinters.
Apply the protectant
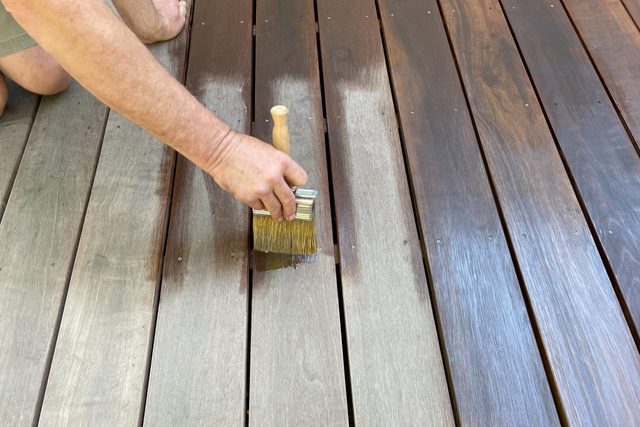
- Apply the protectant with the paintbrush according to the manufacturer’s instructions, brushing with the grain.
- Press the brush down firmly, especially on the edges of the boards, to ensure a uniform coat.
- Try to avoid puddling, since excess protectant must be removed in the final step.
- Work your way from one end of the deck to the other, completing a couple of boards at time.
- Repeat until the entire deck surface is treated.
Pro tip: Brush railings first. Start at the far end of the deck, working your way toward the stairs or a door, so you don’t back yourself into a corner.
Wipe off excess protectant
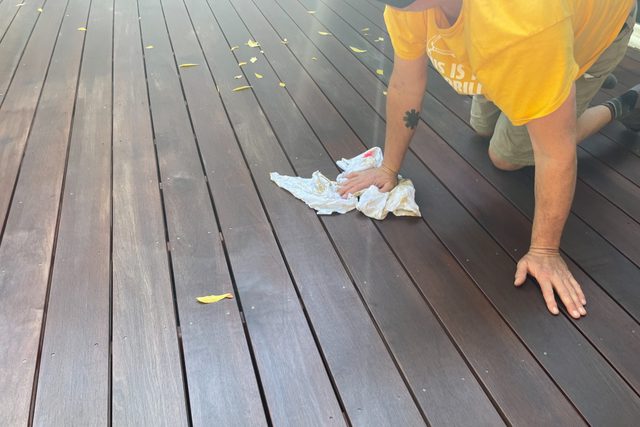
- After treating the whole deck, wipe all the boards and railings with lint-free rags.
- Wipe the deck in the same order you applied the protectant. You’ll need at least 30 minutes between applying the protectant and wiping off the excess.
- Use fresh rags often to ensure you’re removing all excess protectant. If you slack off here and leave some, you’ll be left with a sticky surface and sub-optimal results. Caution: Rags with Penofin oil can spontaneously combust. It’s critical to submerge and soak all used cloths in a covered bucket of water until you can take them to your local hazardous materials drop-off site.
- Wait 24 hours, or whatever the manufacturer recommends, before using the deck.


