Skip an Entry Rug and Opt for a DIY Tiled Entry Instead

Tired of mud and grit messing up your entryway rug? Consider a tiled entry instead.
Our editors and experts handpick every product we feature. We may earn a commission from your purchases.
If you’re anything like me, you wince in discomfort when mud and grit get tracked over your floor by dirty footwear. The pain is even more acute when you’ve installed the flooring yourself. Luckily, there’s a simple solution—the tiled entry. No matter what sort of wood or composite flooring you choose, it won’t stand up to sustained foot traffic forever—particularly near the door. That’s where porcelain tiles can help.
Much more scratch and moisture-resistant than other flooring materials, porcelain tiles are a great choice for your entryway. Even if you prefer wood or composite in other parts of the house, a tiled entry around your doorway looks great and offers protection from nearly every unwanted substance that may end up on your floor. Here’s how to install one.
How to Create a Tiled Entryway
Installing your own tiled entry might seem daunting, but as someone who’s done it, I can confidently say it’s probably easier than you think. Follow the instructions below to start on this stylish remodel of your entryway.
What You’ll Need
- Enough porcelain tiles to cover the area you plan to tile
- Tape measure
- Long level or other straight edge
- Pencil
- Multi-tool with cutting blade
- Modified and unmodified thinset mortar
- Grout
- Caulking (color matched to grout)
- Large bucket
- Handheld mortar mixer (optional)
- Pointing trowel
- 1/2-inch square notched trowel
- Ditra uncoupling membrane
- Scissors
- Tile leveling spacers
- Tile cutting saw
- Towel or cloth
Directions
- Decide on the rough size of your entry. How large you make your tiled entry is a matter of utility and personal preference. Do you have lots of people around or plan on buying some entryway furniture, such as an entry table? A larger tiled entry will save you grief (and lots of cleaning). Do you anticipate minimal traffic? You can probably get by with a smaller area of tile. I made my own tiled entry quite large (6 by 8 feet) since we planned to store a shoe rack on it.
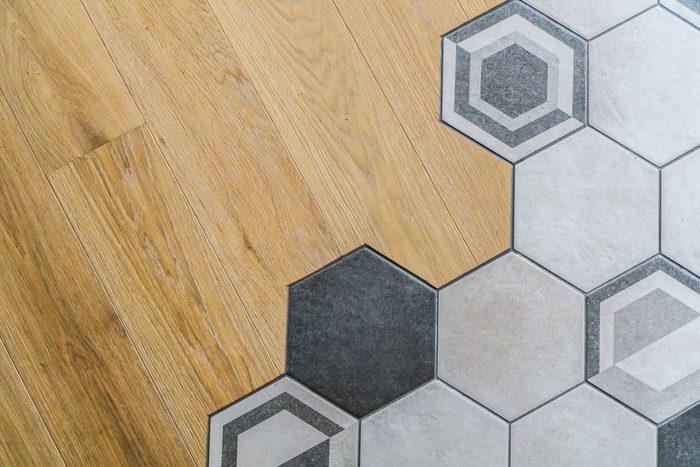
- Choose tiles. For my entry, I went with simple, square 6×6-inch tiles. This made marking and cutting out the flooring very simple. If you want a more interesting tile shape (like hexagonal tiles), keep in mind that the marking and cutting will be trickier.
- Mark the area for your entry. Lay out all the tiles you’ll use for your entry on top of your existing floor. Use tile spacers to ensure they’re spaced properly. This might seem like a waste of time, but it’s vital to lay out the tiles exactly as they will be in the finished entryway to avoid problems later. When you’re happy with the layout, use a pencil to trace a line 1/4 inch beyond the outer perimeter of the tiles.
- Cut out the existing floor. Use an oscillating multitool with a saw blade attachment to carefully cut through the existing flooring along your pencil line. Be sure to cut through the flooring only, not the subfloor underneath. Remove the old flooring when you’re done cutting.
- Mix some modified thinset mortar in a bucket with either a handheld electric mixer or by hand with a trowel. Apply it to the entryway area evenly using a square-notched trowel.
- Apply thinset and Ditra. Cut and install a layer of Ditra uncoupling membrane over the modified thinset. Make sure the Ditra covers the entire entryway area. Do the cutting with scissors. Allow the thinset to dry.
- Install the tiles. Mix and apply more thinset mortar on top of the Ditra, this time of the unmodified variety. Carefully press your tiles one at a time into the thinset while it’s still wet. Use tile leveling spacers to ensure the tiles are positioned correctly. Cut tiles with a tile-cutting saw around the edges as needed. I avoided the need to cut any tiles on my entry by making its dimensions a precise multiple of the width of my tiles.
- Apply grout. Once the thinset has fully cured, mix up some grout of your color choice. Work the grout into the tile cracks by pushing it back and forth over the tiles with a trowel. Don’t let any grout get into the gap around your entry’s perimeter. Allow the grout to get half hard, then clean the excess off the tiles with a wet cloth or towel.
- Fill the outer perimeter gap with silicone caulking color matched to your grout.


