Attic Projects: Maintain the Floor Insulation
It’s important to check the attic floor insulation periodically for signs of clumping and mold, which will tell you a lot about the moisture conditions in the attic.
Clumping is the sign of a possible leak, and moldy insulation probably means there isn’t enough ventilation. Clumped insulation isn’t providing adequate R-value, and moldy insulation is a health hazard. Remove both and replace with new material.
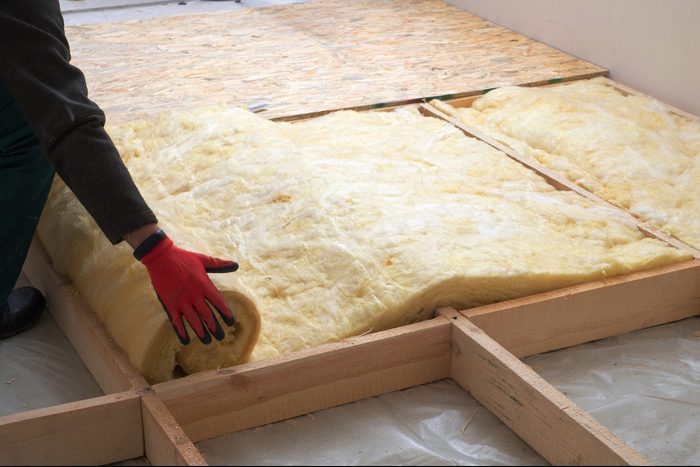
Whether you have batt or loose fill insulation, it should be level with the tops of the floor joists to avoid heat loss and higher energy bills. This is also your opportunity to add more if necessary. You can do the job yourself, but if you decide to hire someone, the cost will depend on the size of the attic and the amount of insulation you need.
The average cost to hire a pro to insulate the attic of a 2,500- to 3,000-square-foot house is around $1,500. But because you’re just adding extra material, it should be much lower, probably from $500 to $1,000.
Attic Projects: Add Wall Insulation
Insulating the underside of the roof decking isn’t as important as insulating the floor, and many homeowners opt not to do it. However, if you decide to use the attic as a living space, or need better climate control to protect items stored up there, insulating the walls is a great idea.
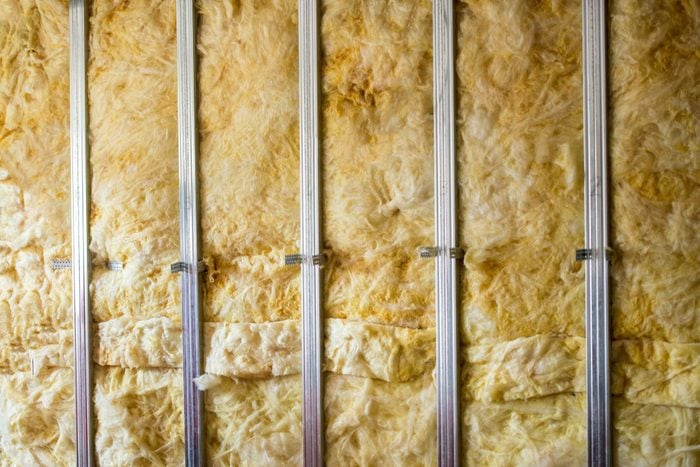
You can add batt insulation easily by yourself. The only tools you need are a tape measure, knife and staple gun. If you decide to hire a pro, expect to pay $0.50 to $1.00 per square foot for labor. The insulation will run from $0.75 to $1.25 per square foot, depending on R-value.
If the attic walls are already insultated, check it for signs of mold, clumping and pest damage, and replace all material in poor condition. When you remove clumped or wet insulation, don’t forget to check the underside of the roof deck for signs of leaking. It’s important for the health of the roof to fix leaks as soon as you find them.
Attic Projects: Seal Gaps
To prevent heat loss through the attic, it’s just as important to fill all gaps where air can pass and maintain the floor insulation. Look for gaps around recessed lighting fixtures, between the floor and vent or exhaust pipes that pass through, and the tops of the wall plates around the edges of the floor.
Gaps less than 1/2-inch wide can be filled with a good quality elastomeric caulk, which won’t dry out and crack over time. Fill larger gaps first with a backing material like foam rope, then apply caulk with a caulk gun or elastomeric patching compound with a putty knife.
This is another DIY job. If you prefer to hire a handyman, expect to pay about $35 per hour.
Attic Projects: Troubleshoot the Vents
Proper ventilation in the attic is essential for controlling moisture and keeping your house cool on hot summer days. Most homes have passive ventilation systems with soffit vents where cool air can enter, and roof vents where warm air can exit.
The roof vents seldom need attention, but the soffit vents are at floor level and often covered over with insulation. Baffles attached to the underside of the roof decking guarantee air passage from the soffit vents to the peak of the roof. If you don’t have any, they’re inexpensive (about $2 each) and easy to install. Just staple them to the roof decking directly over the vents.
If your attic has a ventilation fan, lubricate the shaft just behind the blades by spraying it with WD-40 at least once a year.
Attic Project: Take Care of Pest Control
Your insulation inspection may turn up signs of rodent infestations, including rat and mouse droppings, hoards of acorns deposited by squirrels or possibly even a nest.
There’s a lot you can do about rodent infestations yourself. But if you decide to call a pro, expect to pay $300 to $500, depending on where you live and the extent of the infestation.
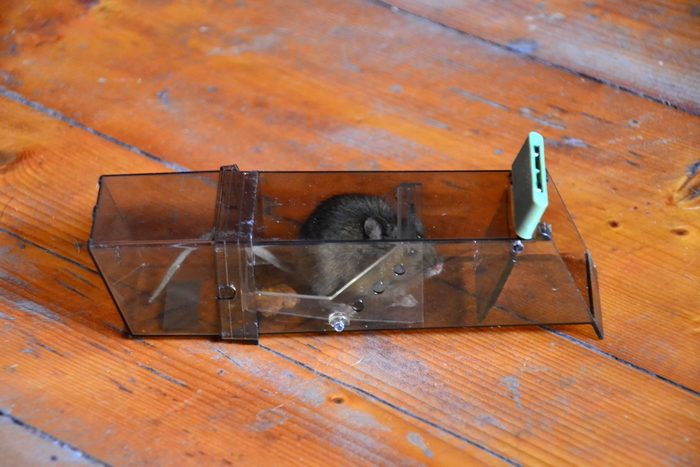
If you decide to tackle the problem on your own, look for rodent-sized holes in the floor and seal them. Then you’ll be left to deal with the varmints still hiding. If it’s mice, trap them with snap traps.
If you suspect squirrels entering from the roof, find the opening and attach a wire cone to the outside. That way they can get out but can’t get back in. Seal the opening once you’re sure all the squirrels are gone.
Attic Projects: Inspect Recessed Lighting Cans
Check all your recessed lighting cans to make sure none poses a fire hazard. If any are covered over with insulation, pull it back and look for the letters IC on the outside of the can. The letters stand for “insulation contact.” If you don’t see them, you need to create a three-inch space between the can and the insulation.
You could build a wooden dam at least as high as the surrounding floor joists around each fixture, but here’s a better way: Purchase a fireproof cover for each non-IC rated fixture. It’s easier to install (just position it over the can) and it prevents heat loss through the fixture. That can be a problem even if you’ve caulked the gap around the fixture and the ceiling drywall.
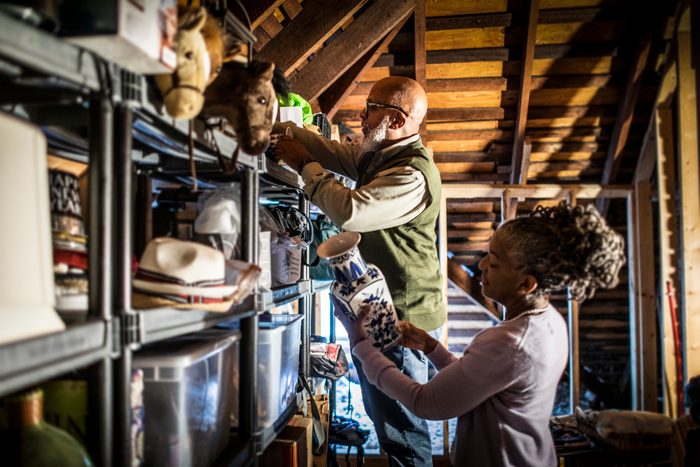
Attic Projects: Clean Up and Reorganize
If you’re storing things in the attic, it’s a good bet they’ve been in the same place for years. They’ve collected dust, and mold may be growing on them or the floor underneath. This is one reason why attics tend to smell musty.
Go ahead and move that stuff around, throwing out or recycling what you don’t need and rearranging what remains in a new configuration. Clean, disinfect and dust as you go. You could pay a cleaner $35 per hour to do this, but if you have important keepsakes you might want to do it yourself.
A good cleanup and reorganization will make the attic smell better and give you a chance to look for signs of moisture and rodent damage. It will also simplify your life by getting rid of excess stuff.

