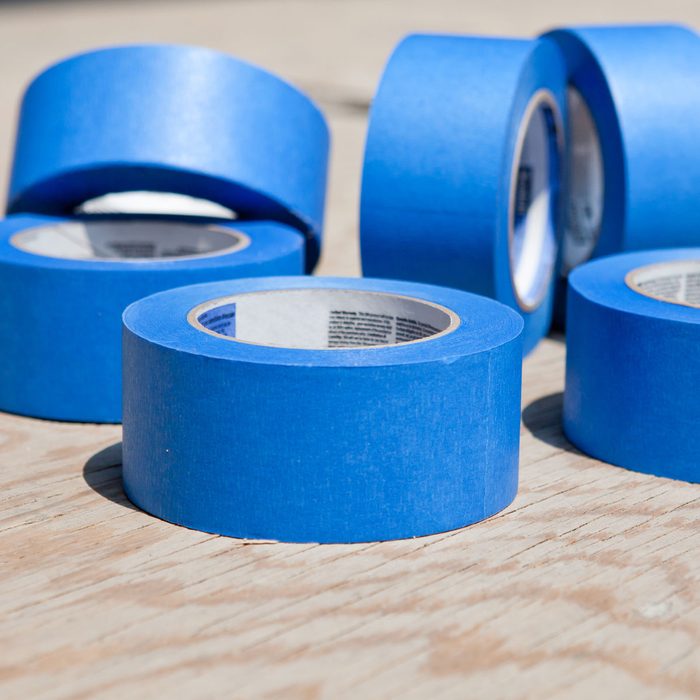
What to Know About Painter’s Tape

Masking off a room properly is the key to achieving razor-sharp lines and avoiding messy cleanup. Here's how to use painter's tape like a pro.
Our editors and experts handpick every product we feature. We may earn a commission from your purchases.
In 1925, 3M scientist Richard Drew invented masking tape. Almost 65 years later, the company made history again when it discovered the formula for ScotchBlue painter’s tape. Credited with revolutionizing the residential and commercial painting industry, painter’s tape can be found almost everywhere, from home improvement centers to paint stores and supermarkets.
On This Page
What is Painter’s Tape?
Painter’s tape is a light-adhesive masking tape used to cover surfaces you don’t want to be painted. Perfect on smooth surfaces such as newly-painted woodwork, it protects trim, baseboards, moldings, casings and windows from drips and overpainting.
Here are some good reasons to use painter’s tape instead of traditional masking tape:
- No sticky residue when removed;
- Lifts cleanly without peeling;
- No paint bleed;
- Easy to tear. Check out this TikTok hack which makes tearing tape easier.
Pro Tip: Don’t forget to tape around doorknobs, sconces, thermostats, etc.
Why Is Painter’s Tape Blue?
Like Wiffle Ball Bat Yellow and UPS Brown, 3M trademarked the medium blue of ScotchBlue Painter’s Tape to set it apart from its competitors. Today, painter’s tape is available in a rainbow of colors, including green, pink, orange, yellow, black, white and paper bag brown.
Types of Painter’s Tape
Painter’s tape is available from variety brands in different formulas, thicknesses and widths.
For general masking, use 3M’s ScotchBlue No. 2090. It comes in five widths and there is a version for delicate surfaces. Scotch Rough Surface Tape is extra sticky to adhere to stucco and brick, while FrogTape Multi-Surface with patented PaintBlock technology creates a micro-barrier to prevent bleeding.
STIKK Brown Painters Tape is perfect for DIY decorative painting projects. It produces clean, precise lines, and its ultra-light adhesive is easy to remove.
How to Use Painter’s Tape
First, wipe away dirt and dust from trim so the tape will stick properly. To apply painter’s tape by hand, attach a little tape to the surface and roll out the tape about six inches. Keep the tape close to the wall, pressing down on the edges to get a good seal.
Another way to affix painter’s tape is by using a smooth-glide applicator, such as this one made by ScotchBlue. It’s easy to grip and applies the tape in one continuous strip, saving time and hand fatigue.
Once the tape is applied, drag a flexible putty knife back over the entire length to ensure there are no gaps between the tape and the surface. Repeat the process (including the putty knife) until everything is masked off, and then start painting! When you’re done, it’s best to remove the tape while the paint is still wet. If allowed to set, some paint from the wall may come off along with the tape.
Pro Tip: Remember to remove the tape at a 45 degree angle, pulling gently and slowly to avoid peeling. For best results, don’t leave painter’s tape in place for more than two days or it can become hard to remove!
Painter’s Tape: Unique Uses and Ideas
Painter’s tape is a DIY gold mine. Want to achieve the look of wallpaper without the expense and commitment? Use painter’s tape to design stripes, diamonds or a cute gingham pattern on the wall. This versatile tape has usages that extend way beyond paint — child-proofing electrical outlets, labeling leftover containers, closing up potato chip bags and making an indoor hopscotch court on a rainy day.


