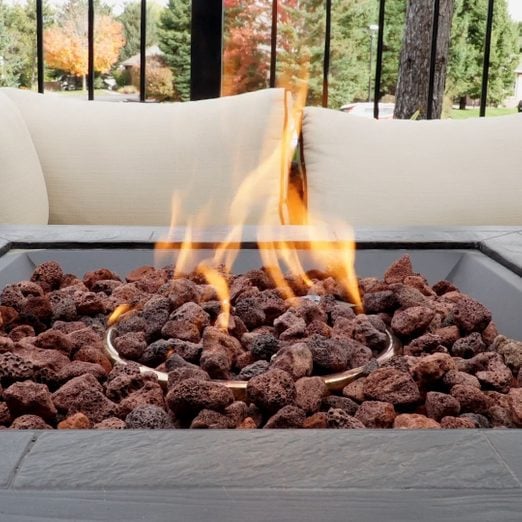
How to Repair a Gas Fire Pit
An hour or less
Beginner
$20-50
Introduction
Just when you think you can relax in front of your fire pit, it doesn't light. Sometimes the fix is easier than you think.Tools Required
- Combination wrench set
- Flashlight
- Screwdrivers
- Vacuum
Materials Required
- 0000 steel wool
- Gas leak detector
Project step-by-step (8)
Step 1
Turn Off Fuel Supply
- Always turn off the fuel supply before working on your fire pit.
- If your fire pit is fueled by propane, close the valve on the tank and disconnect the fuel line from the tank before working on the appliance.
Step 2
Full Tank
- Check the fuel level on the tank; it may be empty. Even low fuel levels can make the flame sputter and easily go out.
- Always slowly open the tank valve first before trying to lite the fire pit.
- If you open the valve on the fire pit before the tank valve, a safety check valve in the tank may engage, causing the fuel flow to stop.
Step 3
Ignitors
- Check if you have a spark at the ignitor.
- Some ignitors operate on batteries. Unscrew the ignitor button or open the ignitor compartment and check for a battery.
- Replace the battery with a new one, making sure the polarity on the battery is correctly installed.
- Check the wire between the ignitor switch and the ignitor. Be sure it is properly connected.
- Clean the ignitor terminal with steel wool or a soft bristle wire brush, being careful not to bend it.
Step 4
Gas Smell
- If you smell gas when the flame is not lit, you may have a leak. Turn off the gas valve immediately.
- Inspect the supply line for cracks or breaks.
- Use a gas leak detector liquid to find leaks in the supply line, valve or fittings.
- Apply a liberal amount of gas leak detector liquid to the supply line, valve or fittings.
- Slowly turn on the gas valve a half turn. If you see bubbles, you’ve found your leak. Turn off the gas valve immediately.
- Replace any damaged lines or faulty valves, and tighten the fittings where bubbles were present.
- Repeat this procedure until there are no gas bubbles found.
Step 5
Dirty Burner Ports
- Check burner ports and the fuel orifice for blockages and keep them clean.
- Remove all the lava rocks, then vacuum or blow out the burner ports.
Step 6
Thermocouple
- Some fire pits have a thermocouple which senses the heat from the pilot light flame. That signals the gas valve to stay open when the pilot is on.
- Tighten all connections at the thermocouple and gas valve. (Do not overtighten.)
- The thermocouple could be faulty. If so, it’s time to call an expert technician.
Step 7
Whistle Sound
- You have plenty of flames, but now it makes a whistling sound.
- Bends in the flexible lines may cause a whistling sound.
- The wrong size regulator on the supply line can result in too much gas supply and may cause a whistling sound.
Step 8
Owners Manual
- Keep the owners manual for your fire pit easily accessible to reference the model and part numbers.
- Most manufacturers offer replacement parts. Or check with appliance parts stores like Dey Distributing.
Originally Published: October 18, 2020


